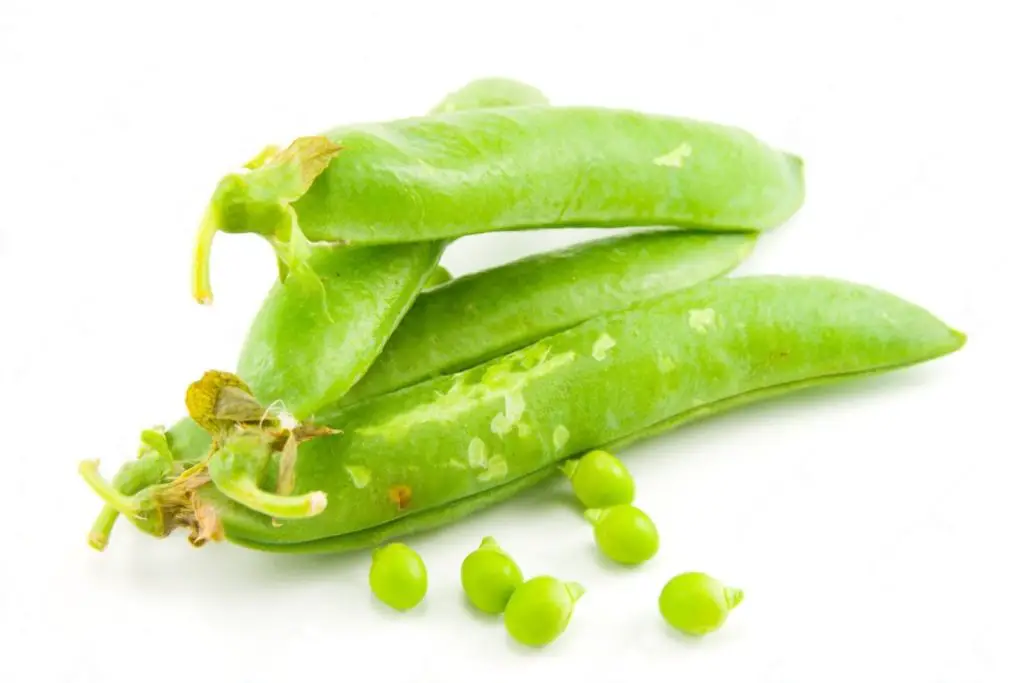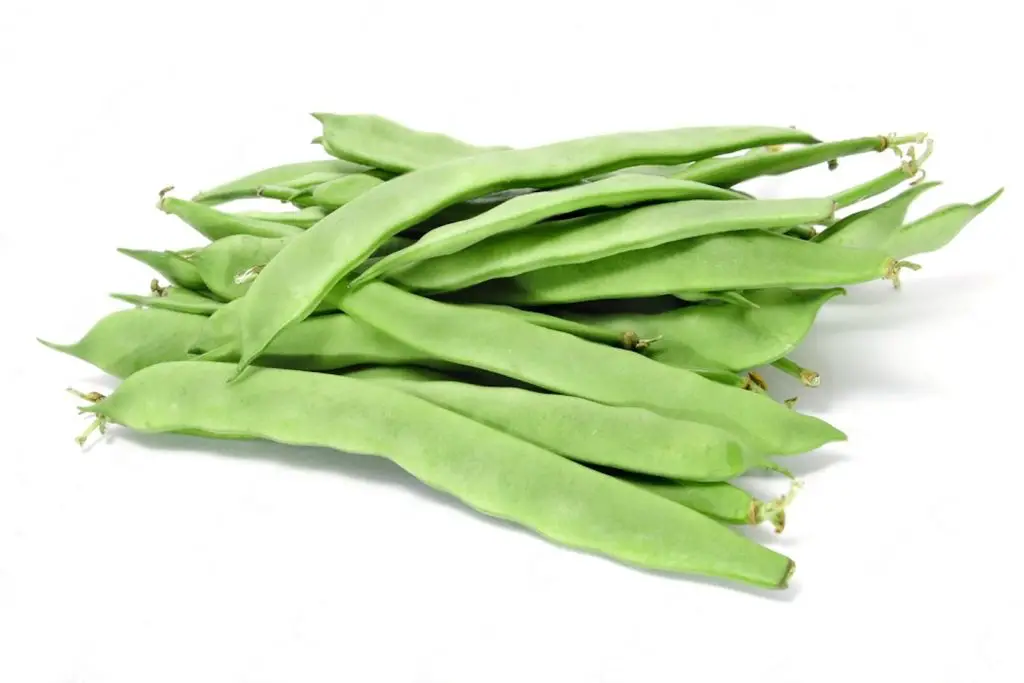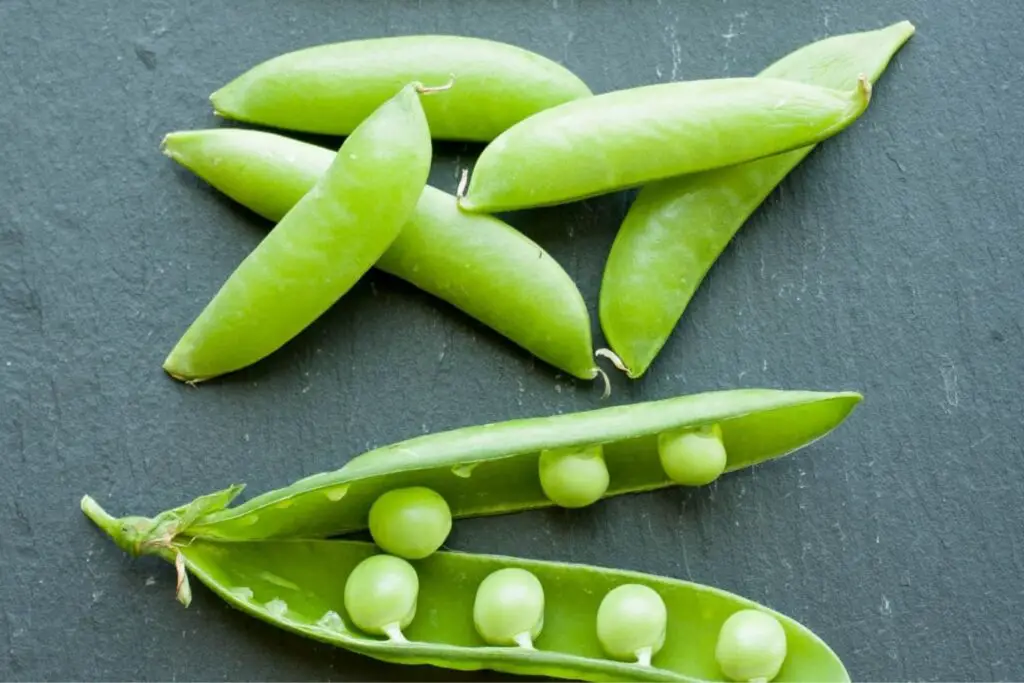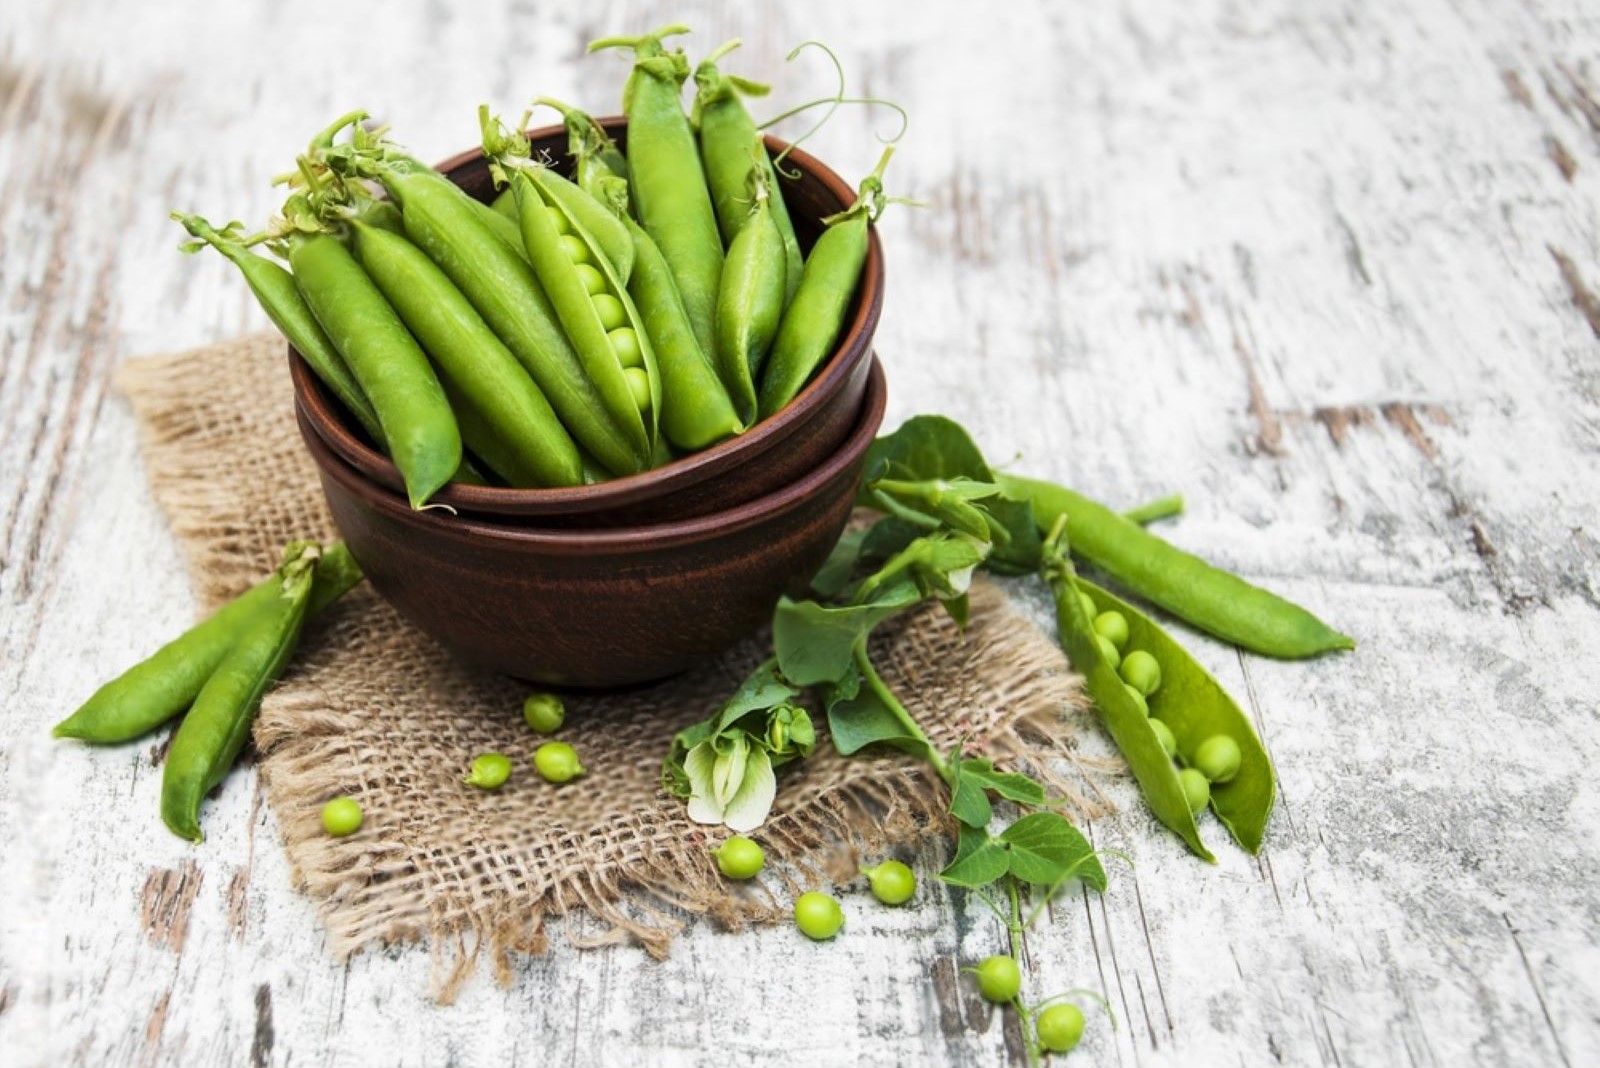
Sugar peas, also known as snap peas or sugar snap peas, are a delectable and crunchy legume that brings a burst of sweetness to any dish. These tender and edible-pod peas are a delightful addition to a variety of recipes, adding both flavor and texture to salads, stir-fries, pasta dishes, and more. With their crispness and natural sweetness, sugar peas are a favorite among vegetable enthusiasts and a sought-after ingredient in many cuisines around the world. However, when sugar peas are in abundance during their peak season or when purchased in larger quantities, it may be challenging to consume them all before they lose their freshness. Freezing sugar peas becomes a practical and efficient method to preserve their crispness and sweet taste, ensuring that each pod retains its vibrant green color and delectable flavor, ready to add a touch of sweetness and crunch to your meals, even when fresh sugar peas are not readily available or when you wish to enjoy these delightful legumes at your convenience. In this guide, we will explore the best practices for freezing sugar peas, allowing you to savor their natural goodness and elevate your culinary creations with the essence of these delightful peas, whenever you desire, without the need for a fresh purchase or harvesting from your garden.
Here are the simple steps to freeze sugar peas:
- Step 1: Choose Fresh and Tender Sugar Peas
- Step 2: Wash and Trim the Sugar Peas
- Step 3: Blanch the Sugar Peas
- Step 4: Drain and Dry the Sugar Peas
- Step 5: Arrange the Sugar Peas for Freezing
- Step 6: Flash-Freeze the Sugar Peas
- Step 7: Package and Seal the Sugar Peas
- Step 8: Label and Date the Packages
- Step 9: Store in the Freezer
Step 1: Choose Fresh and Tender Sugar Peas
Selecting fresh and tender sugar peas is crucial to ensure the best freezing results. Fresh sugar peas not only have better flavor but also retain their nutrients and texture during the freezing process. Here’s why this step is important:
- Flavor preservation: Fresh sugar peas have a naturally sweet and delicate taste. By choosing fresh peas, you can lock in this delightful flavor, making sure that the peas retain their sweetness even after freezing and thawing.
- Nutrient retention: Sugar peas are a nutritious vegetable, containing vitamins (such as vitamin C, vitamin A, and vitamin K) and minerals (such as iron and potassium). Fresher peas are more likely to retain these essential nutrients, providing you with a healthy and flavorful option for your meals.
- Texture maintenance: Tender sugar peas have a crisp and crunchy texture, which is one of their appealing characteristics. Freezing older or overripe peas can lead to a loss of texture, resulting in a mushy and less enjoyable final product.
- Reduced risk of spoilage: Selecting sugar peas without blemishes or signs of spoilage ensures that you won’t freeze peas that are already starting to degrade. Spoiled peas can negatively affect the quality of the whole batch and may lead to an unpleasant taste.
- Vibrant appearance: Vibrant green pods are indicative of fresh and high-quality sugar peas. Freezing peas with bright green color ensures an appetizing appearance when you use them in various dishes.
By taking the time to choose fresh and tender sugar peas, you set the foundation for successful freezing. Your frozen peas will maintain their delicious flavor, texture, and nutritional value, providing you with a convenient and delightful ingredient for a variety of recipes throughout the year.
Step 2: Wash and Trim the Sugar Peas
Washing and trimming sugar peas is a crucial step in the freezing process as it ensures that the peas are clean, free from any contaminants, and properly prepared for freezing. Here’s why this step is important:
- Removing dirt and debris: Sugar peas, like any fresh produce, can accumulate dirt, dust, and other debris during harvesting and transportation. Washing them under cool, running water helps to remove these impurities, ensuring that you freeze clean and safe peas.
- Ensuring food safety: Washing the sugar peas reduces the risk of potential foodborne illnesses that may be caused by consuming unwashed vegetables. Properly cleaned peas are safe to eat and enjoy.
- Preventing bacterial growth: By washing the sugar peas, you minimize the presence of surface bacteria and microorganisms, which could potentially lead to spoilage during freezing.
- Improving freezing efficiency: Washing the peas before freezing removes any substances that might cause them to stick together or clump during the freezing process. This allows for better individual freezing, making it easier to handle the peas when you need to use them later.
- Enhancing appearance: Clean and well-trimmed sugar peas have a more appealing appearance. Removing any dirt or damaged parts ensures that the peas look fresh and appetizing even after freezing and thawing.
Trimming the ends of the sugar pea pods is equally important to prepare them for freezing. The ends can sometimes be tough or stringy, and removing them ensures a consistent texture when cooking or using the peas in various dishes.
There are two common methods to trim the sugar pea pods:
- Using a sharp knife: Lay the pea pod on a cutting board and carefully trim off the ends with a sharp knife. This method provides precise cuts and is ideal for trimming multiple peas at once.
- Snapping them off by hand: Hold the pea pod with both hands, one hand on each end, and gently bend it until it snaps. This method is quick and doesn’t require any special tools, making it a convenient option for smaller quantities.
By washing and trimming the sugar peas, you not only ensure their cleanliness and safety but also contribute to the overall quality of the frozen peas. Following this step allows you to have well-prepared peas that are ready to be blanched and frozen, ensuring their flavor and freshness are preserved for future use.
Step 3: Blanch the Sugar Peas
Blanching is a crucial and essential step in the process of freezing sugar peas. It involves briefly immersing the peas in boiling water and then quickly cooling them in ice water. Here’s why blanching is so important:
- Enzyme inactivation: Vegetables, including sugar peas, contain enzymes that can cause deterioration even after they are harvested. Blanching helps to inactivate these enzymes, preventing any further enzymatic reactions that could lead to a loss of color, flavor, and nutrients during freezing and storage.
- Preserving color: Blanching helps to retain the vibrant green color of sugar peas. The process halts the breakdown of chlorophyll, the green pigment responsible for the peas’ appealing color. Preserving this color enhances the overall appearance of the frozen peas when they are later used in recipes.
- Locking in flavor: Blanching sugar peas for a short time helps to preserve their natural flavors. The quick blanching process ensures that the peas don’t become overcooked and lose their characteristic sweet taste.
- Retaining nutrients: While blanching can cause a minor loss of some water-soluble nutrients, it is still an essential step in preserving the overall nutritional quality of sugar peas. The brief blanching time minimizes nutrient losses and ensures that the peas remain a healthy and nutritious food option.
The blanching process itself is straightforward these steps are useful:
- Boil water: Start by bringing a large pot of water to a rolling boil. The pot should be large enough to accommodate the sugar peas without overcrowding.
- Prepare ice water: While the water is boiling, prepare a bowl of ice water. This ice bath is essential for stopping the cooking process quickly and preventing the peas from becoming too soft.
- Blanch the sugar peas: Carefully add the trimmed sugar peas to the boiling water and blanch them for 1 to 2 minutes. The exact blanching time may vary depending on the size and tenderness of the peas, but it’s essential not to overcook them.
- Transfer to ice water: Using a slotted spoon or a strainer, quickly remove the blanched sugar peas from the boiling water and immediately immerse them in the ice water. The ice bath rapidly cools down the peas, halting the cooking process.
- Drain the peas: After a few minutes in the ice water, drain the sugar peas thoroughly to remove excess moisture.
Blanching prepares the sugar peas for freezing by preserving their color, flavor, and nutrients. This step sets the stage for successful long-term storage, ensuring that the frozen peas maintain their quality and are ready to be used in a variety of dishes whenever you desire.
Step 4: Drain and Dry the Sugar Peas
After blanching the sugar peas and cooling them in the ice water, draining and drying them properly is a crucial step in the freezing process. Here’s why this step is essential:
- Preventing overcooking: Removing the sugar peas from the boiling water and transferring them to the ice water immediately is essential to prevent them from overcooking. Overcooked peas can become mushy and lose their desirable texture.
- Halting the cooking process: Placing the blanched peas in the ice water stops the cooking process rapidly. This helps to retain the peas’ crispness and bright green color.
- Removing excess moisture: Draining the sugar peas thoroughly after they have cooled in the ice water helps to remove any excess water clinging to the surface. Excess moisture can lead to ice crystals during freezing, potentially causing freezer burn and affecting the quality of the frozen peas.
- Ensuring uniform freezing: Drying the peas after blanching and draining prevents them from freezing together in clumps. Individual freezing is essential to make it easier to portion out the desired amount of peas when using them in recipes later on.
To properly drain and dry the sugar peas follow these steps:
- Use a slotted spoon or a colander: Immediately after blanching the peas, use a slotted spoon or a colander to remove them from the boiling water. Shake off any excess water.
- Transfer to ice water: Place the blanched peas directly into the bowl of ice water prepared earlier. Allow them to cool in the ice water for the same amount of time they were blanched, usually 1 to 2 minutes.
- Drain thoroughly: After cooling in the ice water, drain the sugar peas thoroughly. Shake the colander gently to remove any excess water.
- Pat dry with a clean kitchen towel or paper towels: Spread out a clean kitchen towel or a layer of paper towels on a flat surface. Lay the sugar peas on the towel and gently pat them dry.
It’s essential to ensure that the sugar peas are as dry as possible before proceeding to the next steps in the freezing process. Properly drained and dried peas help to maintain their quality during freezing and storage, resulting in delicious and well-preserved peas that can be enjoyed in various dishes long after their peak season has passed.
Step 5: Arrange the Sugar Peas for Freezing
Arranging the blanched and dried sugar peas in a single layer on a baking sheet or tray is a crucial step to ensure proper freezing and prevent the peas from sticking together. Here’s why this step is important:
- Individual freezing: By laying the sugar peas in a single layer, you encourage individual freezing of each pea. Individual freezing prevents the peas from freezing together in clumps, making it easier to portion out the desired amount of peas when you need them for cooking later on.
- Preventing freezer burn: Properly spaced peas allow cold air to circulate around each pea during the freezing process. This circulation helps to prevent freezer burn, which can occur when moisture on the surface of the peas turns into ice crystals.
- Ease of storage: Once the sugar peas are frozen individually on the baking sheet or tray, they can be easily transferred to a container or freezer bag without sticking together. This organized freezing method ensures you can access the peas easily and efficiently when you want to use them.
To arrange the sugar peas these are steps for freezing:
- Prepare a baking sheet or tray: Line a baking sheet or a tray with parchment paper. The parchment paper prevents the sugar peas from sticking to the surface during freezing and makes it easier to remove them later.
- Lay the sugar peas in a single layer: Place the blanched and dried sugar peas on the prepared baking sheet or tray in a single layer. Make sure the peas are not touching each other. This spacing is essential to prevent them from freezing into one large clump.
- Avoid overcrowding: If you have a large batch of sugar peas, it’s better to freeze them in multiple batches on separate baking sheets or trays. Overcrowding can lead to uneven freezing and increase the likelihood of the peas freezing together.
- Use multiple baking sheets if needed: If you have many sugar peas to freeze, consider using multiple baking sheets or trays. This ensures that each pea has enough space for individual freezing.
By taking the time to arrange the sugar peas properly for freezing, you ensure that they retain their individual shape and quality, making them easy to use in various recipes whenever you desire a taste of their sweet and crisp goodness.
Step 6: Flash-Freeze the Sugar Peas
Flash-freezing is a rapid freezing process that involves freezing the sugar peas individually and quickly at a very low temperature. This step is essential for preserving the quality of the peas and preventing them from sticking together when stored in bags or containers. Here’s why flash-freezing is an important part of the freezing process:
- Preventing clumping: Flash-freezing the sugar peas individually on a baking sheet or tray prevents them from freezing together in large clumps. When vegetables freeze together, they can be difficult to separate, leading to potential waste and inconvenience when using them in recipes.
- Retaining individual shape: By flash-freezing the peas, you ensure that each pea maintains its individual shape. This is particularly important for vegetables like sugar peas, which have tender and delicate pods that can be easily damaged if they freeze in contact with each other.
- Faster freezing: Flash-freezing allows the sugar peas to freeze much faster compared to other freezing methods. The rapid freezing process helps to preserve the texture and flavor of the peas, as it minimizes the formation of large ice crystals that can damage the cell structure of the vegetables.
To flash-freeze the sugar peas follow these steps:
- Use the pre-arranged baking sheet or tray: Take the baking sheet or tray with the blanched and dried sugar peas, which should be in a single layer and not touching each other.
- Place in the freezer: Carefully place the baking sheet or tray with the sugar peas into the freezer. Make sure it sits on a flat surface so that the peas remain evenly spaced.
- Freeze for 1 to 2 hours: Allow the sugar peas to freeze for about 1 to 2 hours. The exact freezing time may vary depending on the size of the peas and the temperature of your freezer. The goal is to ensure they are completely frozen before moving on to the next step.
Flash-freezing is a crucial technique to preserve the quality of sugar peas during freezing and storage. By taking this extra step, you ensure that the peas remain in prime condition, maintaining their sweetness and crispness, and are ready to enhance your dishes whenever you need them.
Step 7: Package and Seal the Sugar Peas
After flash-freezing the sugar peas, it’s essential to package and seal them properly to maintain their quality during long-term storage. Proper packaging and sealing help prevent freezer burn, which can negatively affect the texture and flavor of the peas over time. Here’s why this step is crucial:
- Protecting from freezer burn: Freezer burn occurs when moisture on the surface of frozen food evaporates, leaving the food dehydrated and affecting its taste and texture. Proper packaging and sealing help create a barrier that prevents air from coming into contact with the sugar peas, reducing the risk of freezer burn.
- Maintaining freshness: Airtight containers or resealable freezer bags help lock in the freshness of the sugar peas, preserving their sweet taste and tender texture.
- Organized storage: Using airtight containers or freezer bags keeps the sugar peas neatly stored and prevents them from spilling or taking up excessive space in the freezer.
To package and seal the sugar peas these are the steps to follow:
- Transfer the peas into containers or bags: Carefully transfer the flash-frozen sugar peas from the baking sheet or tray into airtight freezer-safe containers or resealable freezer bags.
- Squeeze out excess air: Before sealing the containers or bags, try to remove as much air as possible. Excess air can lead to freezer burn and deteriorate the quality of the peas over time.
- Seal tightly: Seal the containers or bags tightly to create a secure closure. If using freezer bags, make sure to press out any remaining air and seal them completely.
- Label the packages: To keep track of the contents and freezing date, use a marker to label each container or bag with “Sugar Peas” and the date they were frozen.
- Store in the freezer: Once the sugar peas are packaged and sealed, place them back in the freezer for long-term storage.
By packaging and sealing the sugar peas, you ensure that the sugar peas remain in optimal condition, free from freezer burn, and ready to enhance your favorite recipes whenever you need them. Enjoy the convenience of having these delicious and nutritious peas on hand all year round!
Step 8: Label and Date the Packages
Labeling and dating the packages of sugar peas is a simple yet crucial step in the freezing process. Adding this information helps you keep track of the contents and storage time, making it easier to manage your freezer and ensure you use the peas while they are at their best quality. Here’s why this step is important:
- Identification of contents: Labeling each package with the name “Sugar Peas” clearly identifies the contents inside the container or bag. This is especially useful when you have various frozen vegetables in your freezer, making it easy to locate the sugar peas quickly.
- Preventing confusion: By labeling the packages, you reduce the risk of confusion with other frozen foods. This ensures that you grab the right package when you want to use sugar peas in a particular recipe.
- Storage organization: With clear labeling, you can organize the freezer more efficiently. Knowing what each package contains allows you to arrange them in a way that maximizes space and accessibility.
- Monitoring storage time: Adding the date of freezing on the packages allows you to track how long the sugar peas have been in the freezer. This information helps you prioritize the use of older packages and ensures you consume the peas within their recommended storage time for the best quality.
How to label and date the packages:
- Use a marker or a label: Write the contents (“Sugar Peas”) directly on the container or bag. If using resealable freezer bags, you can label them on the designated white area, if available.
- Add the date: Write the date of freezing next to the name of the contents. Use the day, month, and year format (e.g., “DD/MM/YYYY” or “MM/DD/YYYY”).
- Be clear and legible: Ensure your handwriting is clear and easy to read. This makes it simple to identify the contents and date even after months of storage.
- Update as needed: If you add more sugar peas to the freezer in the future, remember to label and date those packages as well.
By taking a moment to label and date the packages, you establish an organized system for your frozen sugar peas, allowing you to use them efficiently while they are at their peak quality. This simple step helps you enjoy the sweet and nutritious taste of sugar peas in a wide variety of recipes throughout the year.
Step 9: Store in the Freezer
Once you have properly packaged and labeled the sugar peas, it’s time to store them in the freezer for long-term preservation. Proper freezer storage is essential to maintain the quality, flavor, and nutritional value of the sugar peas. Here’s why this step is crucial:
- Temperature control: Storing the sugar peas at a consistent temperature of 0°F (-18°C) or lower is important for preventing bacterial growth and maintaining the peas’ texture and flavor over an extended period.
- Preventing freezer burn: The low temperature in the freezer helps prevent freezer burn, which can occur when moisture evaporates from the surface of frozen food. By avoiding freezer burn, you ensure the sugar peas remain in the best possible condition for several months.
- Extended shelf life: With proper freezer storage at the recommended temperature, sugar peas can maintain their quality for up to 8 to 12 months. Beyond this time, the peas may still be safe to eat, but their taste and texture may gradually decline.
To store the sugar peas in the freezer follow these steps:
- Find a suitable spot: Choose a location in your freezer that maintains a consistent temperature of 0°F (-18°C) or lower. Some freezers have designated drawers for vegetables, which can be an ideal storage spot.
- Arrange the packages: Place the sealed packages of sugar peas in the chosen storage area. Ensure they are laid flat and not stacked on top of each other to avoid crushing or damaging the peas.
- Keep the freezer organized: As you add more frozen items to your freezer, make sure to maintain an organized arrangement, so it’s easy to find the sugar peas when you need them.
- Monitor storage time: As the months pass, keep track of the date of freezing on the labels. This way, you can use the oldest packages first and ensure you consume the sugar peas within their optimal storage time.
By following proper freezer storage guidelines, you can enjoy the sweet and crisp flavor of sugar peas long after their peak season. These frozen gems will be ready to enhance your meals with their delightful taste and nutritional value whenever you decide to use them.
Other related questions
How do you defrost sugar peas?
To defrost sugar peas, utilize these steps: 1) Quick thaw: Place the peas in a colander and rinse under cold water until thawed. 2) Cold water bath: Submerge the peas in cold water, changing the water frequently until fully defrosted. 3) Refrigerator: Transfer the sealed peas to the refrigerator and leave them to thaw for several hours or overnight. Avoid using hot water or microwaving directly to preserve their texture and nutrients.
Can you refreeze sugar peas?
Refreezing sugar peas is generally not recommended due to potential quality and safety concerns. When you defrost and refreeze peas, their texture and flavor may deteriorate, leading to a less enjoyable eating experience. Additionally, the process of thawing and refreezing can increase the risk of bacterial growth and foodborne illnesses. It is best to use the defrosted sugar peas promptly or cook them before refreezing to ensure food safety and maintain their quality.
How do I know if the sugar peas have gone bad after being frozen?
To determine if frozen sugar peas have gone bad, look for signs of spoilage such as discoloration, off-putting odors, or the presence of ice crystals. If the peas have a slimy or mushy texture, it indicates deterioration. Taste a small portion; if the flavor is sour or unusual, they may no longer be safe to consume. Properly stored frozen sugar peas can maintain their quality, but if you observe any of these signs, it’s best to discard them to avoid potential health risks.
Can you freeze sugar peas in a sauce or broth for easy incorporation into dishes?
Yes, you can freeze sugar peas in a sauce or broth for easy incorporation into dishes. Freezing sugar peas in a sauce or broth helps preserve their flavor and texture, and it allows them to be conveniently used in recipes later. Ensure the sugar peas are fully cooled before freezing, and store them in airtight containers or freezer-safe bags with the sauce or broth to maintain their freshness and prevent freezer burn. Thaw the frozen sugar peas in the refrigerator when needed and add them, along with the sauce or broth, to dishes like stir-fries, casseroles, or soups for a delicious and effortless meal preparation.
Can you freeze sugar peas with other vegetables in a mixed medley?
Yes, you can freeze sugar peas with other vegetables in a mixed medley. Freezing mixed vegetables together is a common practice, and it allows for convenient use in various recipes later. Ensure all the vegetables are fully cooled before freezing, and store them in airtight containers or freezer-safe bags to maintain their individual flavors and textures. Thaw the frozen mixed vegetables in the refrigerator when needed, and use them in stir-fries, side dishes, or other culinary creations for a delightful and nutritious meal.
Can you freeze sugar peas with added butter or oil?
Yes, you can freeze sugar peas with added butter or oil. Freezing sugar peas with butter or oil helps preserve their taste and texture and allows for easy incorporation into dishes later. Ensure the sugar peas are fully cooled before freezing, and store them in airtight containers or freezer-safe bags to maintain their freshness and prevent freezer burn. Thaw the frozen sugar peas in the refrigerator when needed, and use them in stir-fries, sautés, or other recipes for a flavorful and nutritious addition to your meals.
Can you freeze sugar peas that have been used in salads or stir-fries?
Yes, you can freeze sugar peas that have been used in salads or stir-fries. Freezing sugar peas preserves their taste and texture, making them suitable for later use in various dishes. Ensure the sugar peas are fully cooled before freezing, and store them in airtight containers or freezer-safe bags to maintain their freshness and prevent freezer burn. Thaw the frozen sugar peas in the refrigerator when needed, and use them in salads, stir-fries, or other culinary creations for a delightful and nutritious meal.

