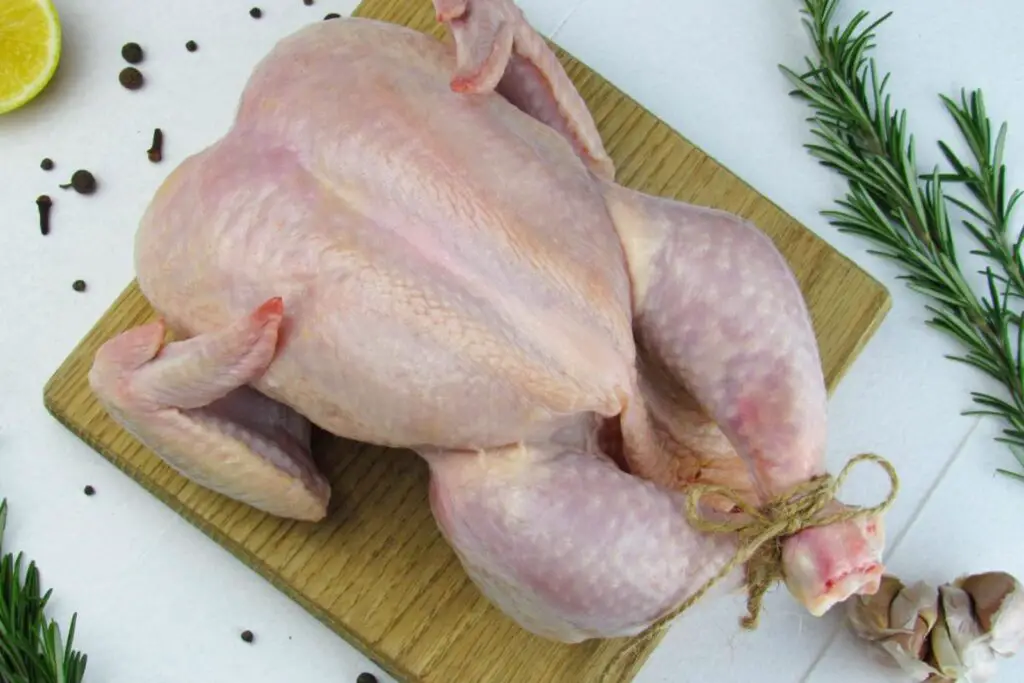
A turkey carcass, the leftover remains of a cooked turkey, holds within it the potential to create a treasure trove of flavorsome goodness. After enjoying a delicious turkey feast, the carcass becomes a valuable source of rich flavors, nutrients, and possibilities. By simmering the carcass along with aromatic herbs, vegetables, and water, you can craft a homemade turkey broth that serves as a versatile base for soups, stews, sauces, and more. However, when faced with a surplus of turkey carcasses, it might be challenging to utilize them all before they begin to lose their freshness.
Freezing turkey carcasses emerges as a practical and efficient approach to preserving their essence, ensuring that each bone and bit of residual meat retains its taste and culinary potential, ready to elevate your dishes with the essence of perfectly frozen turkey broth, even when a freshly cooked carcass isn’t readily available or when you yearn for the convenience of this homemade staple. In this guide, we will delve into the best practices for freezing turkey carcasses, enabling you to capture the richness of these remains and enrich your culinary creations with the essence of perfectly frozen turkey broth, without the necessity of frequent homemade broths or continuous kitchen endeavors.
Here are the simple steps to freeze turkey carcass:
Step 1: Prepare the Carcass
When freezing a turkey carcass, the initial step involves preparing the carcass for the next stages of the process. After enjoying a turkey meal, you’ll likely have a turkey carcass with some remaining meat clinging to it. To start, carefully remove any noticeable pieces of meat from the carcass. While doing this, keep in mind that you don’t need to remove every single bit of meat. In fact, leaving small bits of meat on the bones can contribute to the overall flavor of the stock or broth you’ll be making.
The primary focus during this step is on the bones, cartilage, and connective tissues that remain after the majority of the meat has been taken off. These components are rich in collagen, minerals, and flavor, which are essential for creating a hearty and flavorful stock or broth. Collagen, in particular, breaks down during the cooking process, imparting a silky texture and deep flavor to the liquid.
By concentrating on the bones, cartilage, and connective tissues, you’re setting the foundation for a robust and nutrient-rich base that will form the essence of your homemade stock or broth. This step ensures that your final product will be filled with the savory essence of the turkey and provide the key building blocks for countless culinary creations.
As you move on to the next steps in the freezing process, the careful preparation of the turkey carcass will prove to be a crucial element in achieving a high-quality stock or broth that can elevate a variety of dishes with its rich taste and versatility.
Step 2: Thoroughly Clean the Carcass
Once you have prepared the turkey carcass by removing the majority of the meat and focusing on the bones, cartilage, and connective tissues, the next step is to give the carcass a thorough cleaning. This step is essential to ensure that your final stock or broth maintains a balanced and pure flavor profile, free from any excess seasonings or spices that were used during the initial cooking of the turkey.
Cleaning the carcass involves rinsing it under cold water. This process serves to remove any residual seasonings, spices, herbs, or other flavorings that may still be clinging to the bones and tissues from the previous cooking. While these seasonings might have enhanced the flavor of the roasted turkey, they could lead to an overly seasoned or unbalanced stock or broth.
Rinsing the carcass under cold water helps to wash away these excess flavors, leaving behind a clean slate for the stock-making process. By doing so, you gain more control over the seasoning of your stock or broth, allowing you to adjust and fine-tune the taste according to your preferences and the specific recipes you’ll be using it in.
This step is particularly important if you’re planning to use the resulting stock or broth as a base for various dishes. A clean carcass ensures that the flavors you add during the stock-making process are the ones that will shine through, creating a versatile and adaptable culinary foundation.
By taking the time to thoroughly clean the turkey carcass before moving on to the next steps, you’re setting the stage for a stock or broth that encapsulates the true essence of the turkey, without any unwanted or overpowering flavors that might detract from its potential uses in your future culinary endeavors.
Step 3: Break Down the Carcass
As you progress in the process of freezing a turkey carcass, you might encounter a situation where the carcass is too large to comfortably fit into your cooking pot. In such cases, breaking down the carcass into smaller pieces becomes necessary. This step involves dividing the carcass into manageable sections, facilitating the cooking and freezing processes, while also ensuring more efficient thawing when you’re ready to use the resulting stock or broth.
Breaking down the turkey carcass can be achieved using kitchen shears or a cleaver. Kitchen shears offer a precise and controlled way to snip through the bones, cartilage, and connective tissues. A cleaver, on the other hand, can be used to make clean cuts through the larger bones, creating smaller, more manageable sections of the carcass.
By breaking down the carcass into smaller pieces, you make it easier to fit into your cooking pot, allowing for even cooking and thorough extraction of flavors during the simmering process. Smaller pieces also have the advantage of freezing and thawing more efficiently. When the time comes to use your frozen stock or broth, smaller portions can be defrosted more quickly and evenly compared to a larger, unwieldy carcass.
Additionally, breaking down the carcass helps to expose more surface area, which is beneficial for releasing the rich flavors, nutrients, and collagen from the bones and tissues. This contributes to a more flavorful and gelatinous stock or broth, enhancing its quality and versatility for various recipes.
Breaking down the turkey carcass into smaller pieces is a practical step that improves the overall cooking and freezing process. It ensures that the resulting stock or broth is easy to work with, freezes efficiently, and maintains its flavorful and nutritious qualities.
Step 4: Prepare a Stock Pot
Once you have broken down the turkey carcass into smaller, more manageable pieces, the next step is to prepare a stock pot for the simmering process. The stock pot will be the vessel where all the flavorful components come together to create a rich and aromatic turkey stock or broth. This step involves selecting an appropriate stock pot and adding aromatic ingredients to infuse the liquid with additional layers of taste and fragrance.
- Selecting the Stock Pot: It’s important to choose a stock pot that is large enough to comfortably accommodate the turkey carcass pieces along with the added ingredients. The size of the pot ensures that there’s enough space for water to circulate and the ingredients to simmer properly. A pot with a heavy bottom and tight-fitting lid is ideal for even heat distribution and preventing excessive evaporation.
- Adding Aromatics: Aromatics are ingredients that add depth and complexity to the flavor of the stock or broth. Common aromatics include onions, carrots, celery, and herbs like parsley, thyme, and bay leaves. These ingredients infuse the liquid with their essential oils and natural flavors, enhancing the overall taste of the final product.
- Layering Ingredients: Begin by placing the broken-down turkey carcass pieces into the stock pot. Arrange them in a way that they fit comfortably while allowing for proper water circulation. Next, add the aromatic ingredients, such as roughly chopped onions, carrots, and celery. The herbs can be tied together in a bundle or added directly to the pot.
- Cover with Water: Once the carcass and aromatics are in the pot, cover them completely with water. The water will serve as the medium for extracting flavors, nutrients, and collagen from the ingredients during the simmering process.
By preparing a stock pot, you’re creating the foundation for a flavorful and aromatic stock or broth. The combination of turkey carcass, aromatics, and water will simmer together, infusing the liquid with the essence of the ingredients. As the flavors meld and intensify over time, you’ll be left with a base that can be used to elevate a wide range of dishes, from soups and stews to sauces and gravies.
Step 5: Simmer and Extract Flavor
After setting up your stock pot with the turkey carcass, aromatic ingredients, and water, the next crucial step is to initiate the simmering process. Simmering is a cooking technique that involves gently heating the liquid to a point just below boiling. This controlled heat allows the flavors, nutrients, and collagen from the turkey carcass and aromatics to be slowly released into the liquid, creating a flavorful and nutritious stock or broth.
- Placing the Stock Pot: To begin, place the prepared stock pot on a stovetop burner. Ensure that the pot is stable and secure.
- Gentle Simmering: Adjust the heat setting to achieve a gentle simmer. The liquid should show small, occasional bubbles breaking the surface, but it should not be vigorously boiling. Simmering is a slower cooking method than boiling and is particularly suitable for extracting flavors from bones and aromatics without causing them to break down too quickly.
- Duration of Simmering: Allow the mixture to simmer for several hours. The exact duration can vary depending on your preferences and the level of intensity you want in the final stock or broth. Simmering for a longer time generally results in a more concentrated and flavorful liquid. A common range for simmering a turkey stock or broth is typically between 2 to 4 hours.
- Flavor Extraction: As the liquid simmers, the heat gently breaks down the connective tissues and bones of the turkey carcass, releasing collagen, minerals, and flavors into the liquid. The aromatic ingredients also release their essential oils and flavors, contributing to the overall taste profile of the stock or broth.
- Nutrient-Rich Result: Simmering allows the liquid to become infused with the goodness of the turkey carcass and aromatics. Collagen from the bones transforms into gelatin, adding body and a silky texture to the stock. The minerals, nutrients, and flavors become concentrated, creating a versatile base for various recipes.
By allowing the mixture to simmer, you’re effectively coaxing out the hidden flavors and nutrients from the turkey carcass and aromatics. This patient and gentle cooking process ensures that your stock or broth is brimming with the essence of the ingredients and ready to lend its depth to a wide array of dishes.
Step 6: Strain the Broth
After allowing the stock pot to simmer for the appropriate duration, it’s time to move on to the next step: straining the broth. Straining serves to separate the liquid – now rich with flavors and nutrients – from the solids such as the turkey carcass and aromatics that have done their job in infusing the broth with their essence. This results in a clear, flavorful turkey broth that is versatile and ready to enhance a multitude of culinary creations.
- Sufficient Simmering: Before straining, ensure that the broth has simmered sufficiently. The extended simmering time allowed the flavors, collagen, and nutrients to be fully extracted from the turkey carcass and aromatics. This ensures that the broth is as rich and flavorful as possible.
- Choosing a Straining Method: There are a few ways to strain the broth. One common method is to use a fine mesh strainer or a colander lined with cheesecloth. These tools effectively catch the solids while allowing the liquid to pass through. Alternatively, you can use a slotted spoon to carefully remove larger solids before straining the rest of the liquid.
- Straining Process: Place the strainer or colander over a clean pot or large bowl. Slowly pour the simmered mixture through the straining apparatus. As the liquid passes through, the solids – bones, cartilage, aromatics – will be caught, leaving you with a smooth, clear broth in the receiving container.
- Pressing or Discarding Solids: If you want to maximize the yield from your turkey carcass, you can gently press the solids with the back of a spoon to extract any remaining liquid. However, be cautious not to press too hard, as this could cloud the broth.
- Flavorful Turkey Broth: The strained broth is now ready to be used in a variety of dishes. Its concentrated turkey flavor, enriched by the aromatic ingredients, can form the basis of soups, stews, sauces, gravies, and more.
By straining the broth, you’re taking the final step in creating a versatile, flavorful foundation that can elevate your cooking. The removal of solids ensures that your turkey broth is clean, clear, and ready to play a central role in enhancing the taste of a wide range of culinary creations.
Step 7: Cool and Package the Broth
After successfully straining the flavorful turkey broth, the next step involves preparing the broth for freezing or storage. This step focuses on cooling the broth down to an appropriate temperature and transferring it to storage containers, ensuring that it remains fresh, safe, and easy to use in future culinary endeavors.
- Cooling the Broth: Once the broth is strained, it’s important to allow it to cool down to room temperature before proceeding further. Rapidly cooling hot liquids can lead to condensation and affect the quality of the broth. Give the broth some time to naturally cool down on the countertop.
- Choosing Storage Containers: While the broth is cooling, gather a variety of storage containers. Consider using both small and large containers, as this allows you to package the broth in portion sizes that suit different recipes. Small containers are convenient for quick use, while larger ones are suitable for recipes that require a substantial amount of broth.
- Container Types: Opt for containers that are suitable for freezing and that have tight-fitting lids. Plastic containers, glass jars, or freezer-safe bags are all viable options. Make sure the containers are clean and dry before using them.
- Transferring the Broth: Once the broth has cooled to room temperature, start transferring it to the chosen storage containers. Using a ladle or a large measuring cup, carefully pour the broth into the containers, leaving some space at the top to allow for expansion during freezing.
- Leaving Room for Expansion: Liquids expand when they freeze, so it’s important not to fill the containers to the brim. Leaving some space at the top prevents the containers from cracking or bursting in the freezer.
- Sealing the Containers: Securely seal the containers with their respective lids. If using plastic containers, make sure the lids are snapped on tightly. For glass jars, leave a little space between the lid and the liquid to accommodate expansion.
By allowing the broth to cool and then packaging it carefully in suitable containers, you’re taking essential steps to preserve its quality and make it convenient for future use. Proper cooling and packaging set the stage for long-term storage and allow you to access flavorful turkey broth whenever your culinary adventures call for it.
Step 8: Label and Date
Labeling and dating your containers before placing them in the freezer is a crucial step in the process of freezing turkey broth. This practice helps you maintain organization, track the freshness of your broth, and ensure that you use the oldest batches first. Proper labeling makes it easy to identify what’s in each container and when it was prepared, streamlining your cooking process and reducing food waste.
- Importance of Labeling: When you freeze multiple containers of turkey broth, it’s easy to lose track of when each batch was prepared. Labeling each container ensures that you can identify the contents without needing to open them, saving time and avoiding potential confusion later on.
- Writing the Date: Use a permanent marker or labels to write the date of preparation on each container. Include the month, day, and year when the broth was made. This information gives you a clear indication of how long the broth has been in the freezer.
- First-In, First-Out (FIFO) Principle: By dating your containers, you can follow the “first-in, first-out” principle. This means that when you’re ready to use the broth, you can prioritize using the oldest batches first. This approach helps ensure that you’re consistently using up your stored broth before moving on to more recently prepared batches.
- Reducing Food Waste: Proper labeling helps prevent food waste by allowing you to track the freshness of your frozen items. This is particularly important for homemade items like turkey broth, as you want to ensure that your efforts in preparing and freezing it are not in vain.
- Convenience and Efficiency: When you’re in the midst of cooking and looking for a specific ingredient, having clearly labeled containers saves you from the guesswork of trying to identify items in the freezer. You can easily find and grab what you need without defrosting multiple containers.
By taking the extra step to label and date your turkey broth containers, you’re establishing an organized freezer system that promotes freshness, minimizes waste, and ensures that your homemade broth is utilized effectively in your culinary creations.
Step 9: Freeze the Broth
After preparing and packaging your flavorful turkey broth, the final step involves freezing it to preserve its quality for future use. Freezing is a convenient and effective way to extend the shelf life of the broth while maintaining its rich flavors and nutrients. This step outlines how to properly freeze the broth and offers considerations for both short-term and long-term storage.
- Placing in the Freezer: Carefully place the labeled and sealed containers of turkey broth in the freezer. Arrange them in a way that allows for efficient use of space and easy access. Keep in mind that the ideal temperature for freezing is at or below 0°F (-18°C).
- Short-Term Storage: If you plan to use the broth within a few weeks, using simple airtight containers is sufficient. These containers help protect the broth from freezer burn and maintain its quality for relatively short periods.
- Long-Term Storage: For longer storage, especially if you intend to keep the broth for several months, consider using freezer-safe bags or vacuum-sealed pouches. These specialized storage options provide an extra layer of protection against freezer burn, which can occur when air comes into contact with the broth and causes moisture to evaporate. Vacuum-sealing removes air from the packaging, significantly reducing the risk of freezer burn and preserving the broth’s flavor and texture.
- Proper Thawing: When you’re ready to use the frozen turkey broth, it’s important to thaw it properly. The best method for thawing is to transfer the frozen broth to the refrigerator and let it thaw slowly over several hours or overnight. This gradual thawing minimizes temperature shock and helps maintain the broth’s quality.
By freezing the broth using suitable containers and methods, you’re preserving its rich flavors and nutrients for a time when you need a quick and flavorful base for various dishes. Proper freezing techniques allow you to make the most of your homemade turkey broth throughout the year.
How long can turkey carcass last in the freezer?
A turkey carcass can last in the freezer for up to 3-4 months without significant loss of quality. For extended storage, consider vacuum-sealing or freezer-safe packaging to prevent freezer burn. Properly stored, it remains safe to eat beyond this timeframe but might experience texture changes.
Other related questions
How do you defrost turkey carcass?
Defrost turkey carcass in the refrigerator for 1-2 days, allowing gradual thawing. Alternatively, use a cold water bath, changing water every 30 minutes. Avoid thawing at room temperature to prevent bacterial growth.
Can you refreeze turkey carcasses?
It’s generally safe to refreeze a turkey carcass if it was thawed in the refrigerator and hasn’t been at room temperature for more than 2 hours. However, repeated thawing and refreezing can affect quality. Use within a reasonable time to preserve taste and texture.
How do I know if the turkey carcass has gone bad after being frozen?
Check for signs of freezer burn like dry, discolored areas. If the carcass has an off smell, strange texture, or ice crystals, it might be spoiled. Trust your senses and discard if unsure.
Can I freeze a turkey carcass that has been brined before cooking?
Yes, you can freeze a brined turkey carcass. However, be mindful that the brining process might have intensified the saltiness. Adjust seasoning when making broth to balance flavors.
Can I freeze a turkey carcass with traces of gravy or sauces?
Freezing a turkey carcass with traces of gravy or sauces is possible, but it’s recommended to remove excess sauces for better preservation. Sauces can alter texture and lead to flavor inconsistencies during freezing. Straining and storing the carcass without excessive sauces enhances quality when making broth later.
How do I ensure the best flavor extraction when making broth from a frozen turkey carcass?
To ensure optimal flavor extraction from a frozen turkey carcass, thaw it thoroughly in the refrigerator. Simmer it slowly with aromatic vegetables, herbs, and water for an extended period. Skim impurities as they rise, and strain the broth to enhance clarity and flavor concentration.

