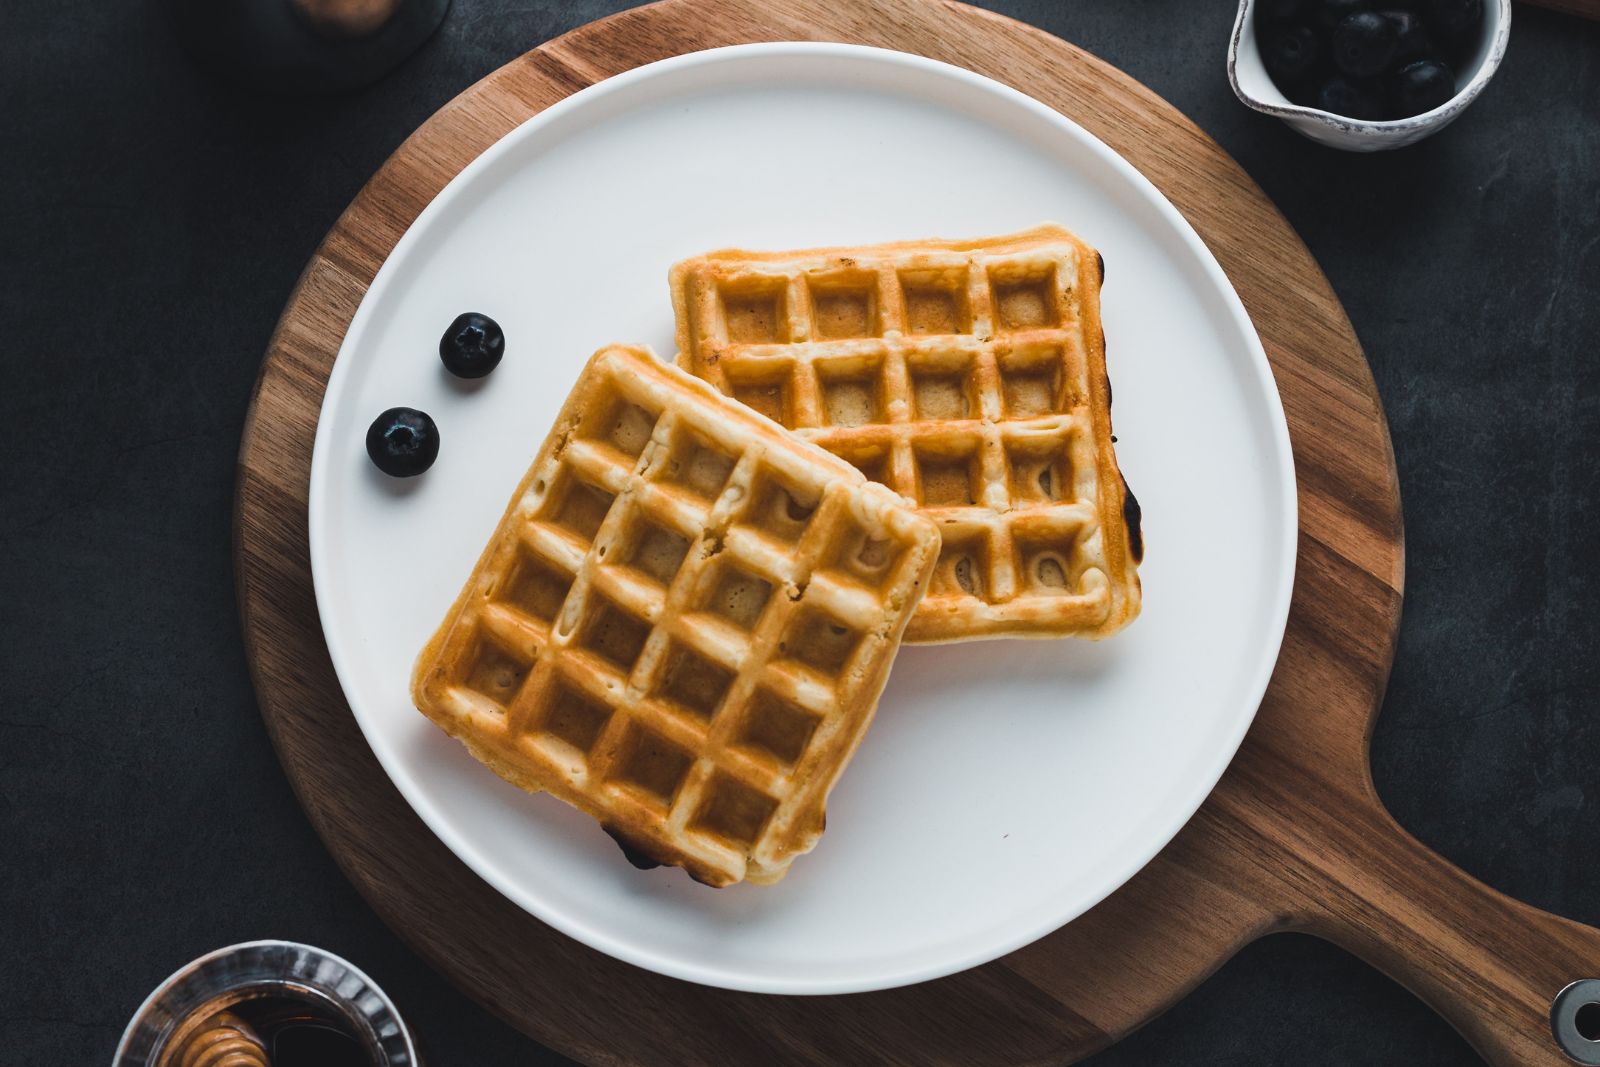
Waffles are a delicious breakfast staple that can be enjoyed by people of all ages. Whether you like them crispy or soft, plain or with toppings, waffles are always a crowd-pleaser. However, making waffles from scratch every time can be time-consuming. Therefore, freezing waffles is a great way to have a quick and easy breakfast or snack on hand whenever you want. However, freezing waffles requires a specific process to maintain their texture and taste. In this article, we will guide you through the steps on how to freeze waffles correctly. With our tips, you’ll be able to freeze your waffles without sacrificing their flavor and texture.
Here are the simple steps to freeze waffles:
Step 1: Allow Waffles to Cool
Once you’ve finished cooking your waffles, it’s important to allow them to cool completely before freezing. This step is crucial because placing hot waffles directly into the freezer can lead to moisture buildup and result in soggy or texture-less waffles when thawed later.
When waffles are hot, steam is released from their surface, and if trapped during the freezing process, it can turn into ice crystals, making the waffles lose their original texture and become unappetizing. Allowing the waffles to cool ensures that the excess moisture evaporates, and they retain their deliciousness even after being frozen and reheated.
To cool the waffles, transfer them from the waffle iron or pan onto a wire rack. The wire rack allows air to circulate evenly around the waffles, preventing them from becoming soggy due to trapped heat. Avoid stacking the waffles on top of each other while they’re still hot, as this can cause condensation, leading to potential moisture-related issues during freezing.
It’s recommended to give the waffles at least 30 minutes to cool down, but the exact cooling time may vary depending on the thickness and size of the waffles. You can also check their temperature by lightly touching the surface with your fingers. If they’re still warm to the touch, let them sit for a bit longer until they reach room temperature.
Step 2: Arrange Waffles for Freezing
After your waffles have cooled down completely, it’s time to arrange them properly for freezing. This step is important to prevent the waffles from sticking together and becoming difficult to separate when you want to thaw and reheat them later.
To begin, gather parchment paper or wax paper and place a sheet between each waffle. The paper acts as a barrier, preventing the waffles from sticking together. Make sure the paper is larger than the size of the waffles to cover them fully.
If you have a large batch of waffles, you can stack them with parchment paper in between to maximize space in the freezer. However, it’s important not to stack too many waffles together, as it can make them more challenging to separate later on. A good rule of thumb is to stack no more than three to four waffles together.
If you prefer, you can also separate the waffles individually by placing a sheet of parchment paper or wax paper between each one. This method allows for easier access to individual waffles, making it more convenient if you only want to thaw a few at a time.
Step 3: Wrap and Seal
After arranging your waffles with parchment paper or wax paper between them, the next step is to wrap and seal them properly. This is crucial to protect the waffles from freezer burn and maintain their quality during storage.
There are a few options for wrapping and sealing your waffles:
- Plastic wrap: Take a sheet of plastic wrap and place it over the stack of waffles. Ensure that it covers the entire surface of the waffles. Gently press the plastic wrap around the waffles, removing any air pockets. This airtight seal helps prevent moisture loss and freezer burn.
- Aluminum foil: Alternatively, you can use aluminum foil to wrap your waffles. Place the waffles on a sheet of foil and fold the edges tightly around them, creating a secure package. Like plastic wrap, aluminum foil provides a protective barrier against freezer burn.
- Freezer-safe resealable bags: If you have freezer-safe resealable bags large enough to accommodate your waffles, they can be a convenient option. Place the wrapped waffles inside the bag, press out any excess air, and seal it tightly. This method provides an additional layer of protection against moisture and freezer burn.
When wrapping and sealing your waffles, ensure that there are no gaps or openings that could allow air or moisture to reach the waffles. Proper sealing is essential for maintaining the waffles’ freshness, flavor, and texture during their time in the freezer.
Step 4: Label and Date
Properly labeling your frozen waffles is an essential step in the freezing process. Labeling helps you keep track of the storage time and ensures that you consume the oldest waffles first, maintaining freshness and minimizing food waste.
To label your wrapped and sealed waffles, you can use a marker or a label. Write down the date of freezing on the outside of the packaging. This information allows you to easily identify how long the waffles have been stored in the freezer.
Having the date clearly visible helps you adhere to the principle of “first in, first out,” which means using the oldest items first before moving on to newer ones. By consuming the oldest frozen waffles first, you can ensure that none of them go to waste and that you enjoy them at their best quality.
Additionally, labeling the packaging helps you stay organized in your freezer. When you have multiple items stored, being able to quickly identify what’s inside and when it was frozen saves time and makes meal planning more efficient.
Remember to use a permanent marker or labels that won’t easily smudge or fade in the freezer’s cold temperatures. It’s also a good practice to use a consistent labeling system for all your frozen items, making it easier to locate and manage your waffle supply.
By labeling and dating your frozen waffles, you establish a clear system for tracking their storage time and prioritizing consumption based on freshness. This simple step contributes to efficient freezer management and ensures that you enjoy your waffles at their best quality.
Step 5: Freeze
It’s time to move on to the freezing process. Freezing your waffles correctly helps maintain their taste, texture, and quality for an extended period
Here are the steps to follow:
- Find a flat surface in your freezer: Before placing the wrapped waffles inside the freezer, ensure you have a flat surface available. This area should be spacious enough to accommodate the waffles without them getting squished or bent. Clear out any obstructions to create enough room for the waffle packages.
- Lay the wrapped waffles flat: Lay the wrapped waffles flat on the designated space in the freezer. It’s essential to arrange them in a single layer to promote faster freezing and prevent clumping together. If you have multiple stacks of waffles, leave enough space between them to allow proper airflow and ensure even freezing.
- Quick freezing: Ideally, you want your waffles to freeze as quickly as possible to preserve their quality. Depending on the thickness and size of the waffles, they should freeze within two to four hours. During this time, the low temperature of the freezer will solidify the moisture in the waffles, preventing the formation of ice crystals and freezer burn.
- Avoid overcrowding: It’s crucial not to overcrowd the freezer with too many items or stacks of waffles. Overcrowding can hinder the freezing process, resulting in longer freezing times and potential quality degradation. Ensure there is enough space around each stack of waffles for efficient airflow and consistent freezing.
- Maintain a consistent freezer temperature: Throughout the freezing process, it’s important to maintain a consistent freezer temperature. Fluctuations in temperature can impact the texture and quality of the frozen waffles. Avoid frequently opening and closing the freezer door unnecessarily, as this can cause temperature fluctuations.
Step 6: Thaw and Reheat
When the time comes to enjoy your frozen waffles, it’s essential to thaw and reheat them properly to maintain their original texture and flavor. Here are a few methods for thawing and reheating your frozen waffles:
- Refrigerator thawing: The recommended method for thawing frozen waffles is to transfer them from the freezer to the refrigerator. Place the desired number of waffles on a plate or in a container and let them thaw in the refrigerator overnight. This slow thawing process ensures an even thaw and keeps the waffles moist. By morning, they should be ready for reheating.
- Toasting or baking: To achieve a slightly crispy texture while thoroughly heating the waffles, toasting or baking them is a popular method. Preheat your toaster or oven according to the manufacturer’s instructions. Take the frozen waffles directly from the freezer and place them in the toaster or on a baking sheet. Toast or bake the waffles until they are heated through and reach your desired level of crispiness. Keep a close eye on them to prevent burning.
- Microwave thawing: If you’re in a hurry and need to thaw the waffles quickly, the microwave can be a convenient option. Place a single frozen waffle on a microwave-safe plate and use the defrost setting or low power setting. Microwave the waffle for approximately 30 seconds, then flip it over and repeat the process. Continue microwaving and flipping the waffle in short intervals until it’s completely thawed but still slightly cool to the touch. Be cautious not to overheat the waffle, as it can become rubbery.
Once the waffles are thawed, you can proceed to reheat them if desired. If you’ve used the refrigerator thawing method, you can reheat the waffles using any of the above methods—toasting, baking, or microwaving—for a warm and delicious breakfast.
Remember to be mindful of the reheating time to avoid overcooking the waffles and compromising their texture. Adjust the reheating time based on the desired level of crispiness or softness you prefer.
Other related questions
How long can waffles last in the freezer?
Waffles can last in the freezer for up to three months. After that, they may start to develop freezer burn or lose their flavor and texture. It’s best to consume them before the three-month mark for optimal taste and quality.
Can you refreeze waffles?
It is generally not recommended to refreeze waffles once they have been thawed. When frozen foods are thawed, they should be consumed within 2-3 days, or else they can start to spoil and develop harmful bacteria. To avoid the need for refreezing, it is best to freeze waffles in individual portions and only thaw the amount needed for each meal.
How do I know if the waffles have gone bad after being frozen?
If the waffles have developed freezer burn, which is characterized by a dry, leathery texture and a dull or discolored appearance, or if they have an off smell or taste, it is an indication that they may have gone bad. It is important to always check for these signs before consuming frozen waffles. If in doubt, it is recommended to discard them to avoid any potential foodborne illness.
Can I freeze homemade waffles, or is it better to freeze store-bought ones?
It is possible to freeze both homemade and store-bought waffles. The key is to ensure they are wrapped and stored properly to maintain their quality during freezing. Homemade waffles can be frozen just as well as store-bought ones. However, it is important to follow the same freezing and storage guidelines to ensure optimal quality and prevent freezer burn. Homemade waffles should also be cooled completely before freezing, and wrapped individually in plastic wrap before being placed in a resealable freezer bag and stored in the freezer.
Can I freeze waffles with toppings or syrup on them?
Yes, you can freeze waffles with toppings or syrup on them, but it is recommended to remove any excess toppings or syrup before freezing to prevent them from becoming soggy.
If you want to freeze waffles with toppings, wrap them individually in plastic wrap and then place them in a resealable freezer bag to prevent freezer burn.
When you are ready to reheat the waffles, you can add your desired toppings or syrup after reheating them to ensure the best texture and taste.
Can I freeze waffles with gluten-free or vegan ingredients, or do they have different freezing requirements?
Waffles made with gluten-free or vegan ingredients can be frozen in the same way as regular waffles. However, it is important to ensure that the ingredients used are suitable for freezing. For example, gluten-free flours may absorb more moisture, so it may be necessary to wrap them more tightly to prevent freezer burn. Similarly, some vegan waffles may contain ingredients like bananas or chia seeds that can become mushy when frozen, so it’s important to test the freezing process before freezing a large batch.
Why should you always freeze your waffles?
Freezing waffles is a great way to preserve them for a longer period of time. It helps prevent them from going stale and keeps them fresh for whenever you’re ready to enjoy them. Additionally, frozen waffles is a convenient way to have breakfast or a snack on hand at any time, without having to worry about making them from scratch every time.
What are some tips to prevent freezer burn on frozen waffles?
Freezer burn can occur when ice crystals form on the surface of frozen food, causing it to become dehydrated and dry. To prevent freezer burn on frozen waffles, here are some tips:
- Wrap the waffles tightly in plastic wrap or aluminum foil before placing them in a freezer bag to minimize air exposure.
- Use a vacuum sealer to remove as much air as possible from the freezer bag before sealing.
- Ensure that the freezer temperature is set to 0°F or lower to prevent temperature fluctuations that can cause freezer burn.
- Store the frozen waffles at the back of the freezer, where the temperature is most consistent.
- Use frozen waffles within the recommended storage time to minimize the chance of freezer burn.


