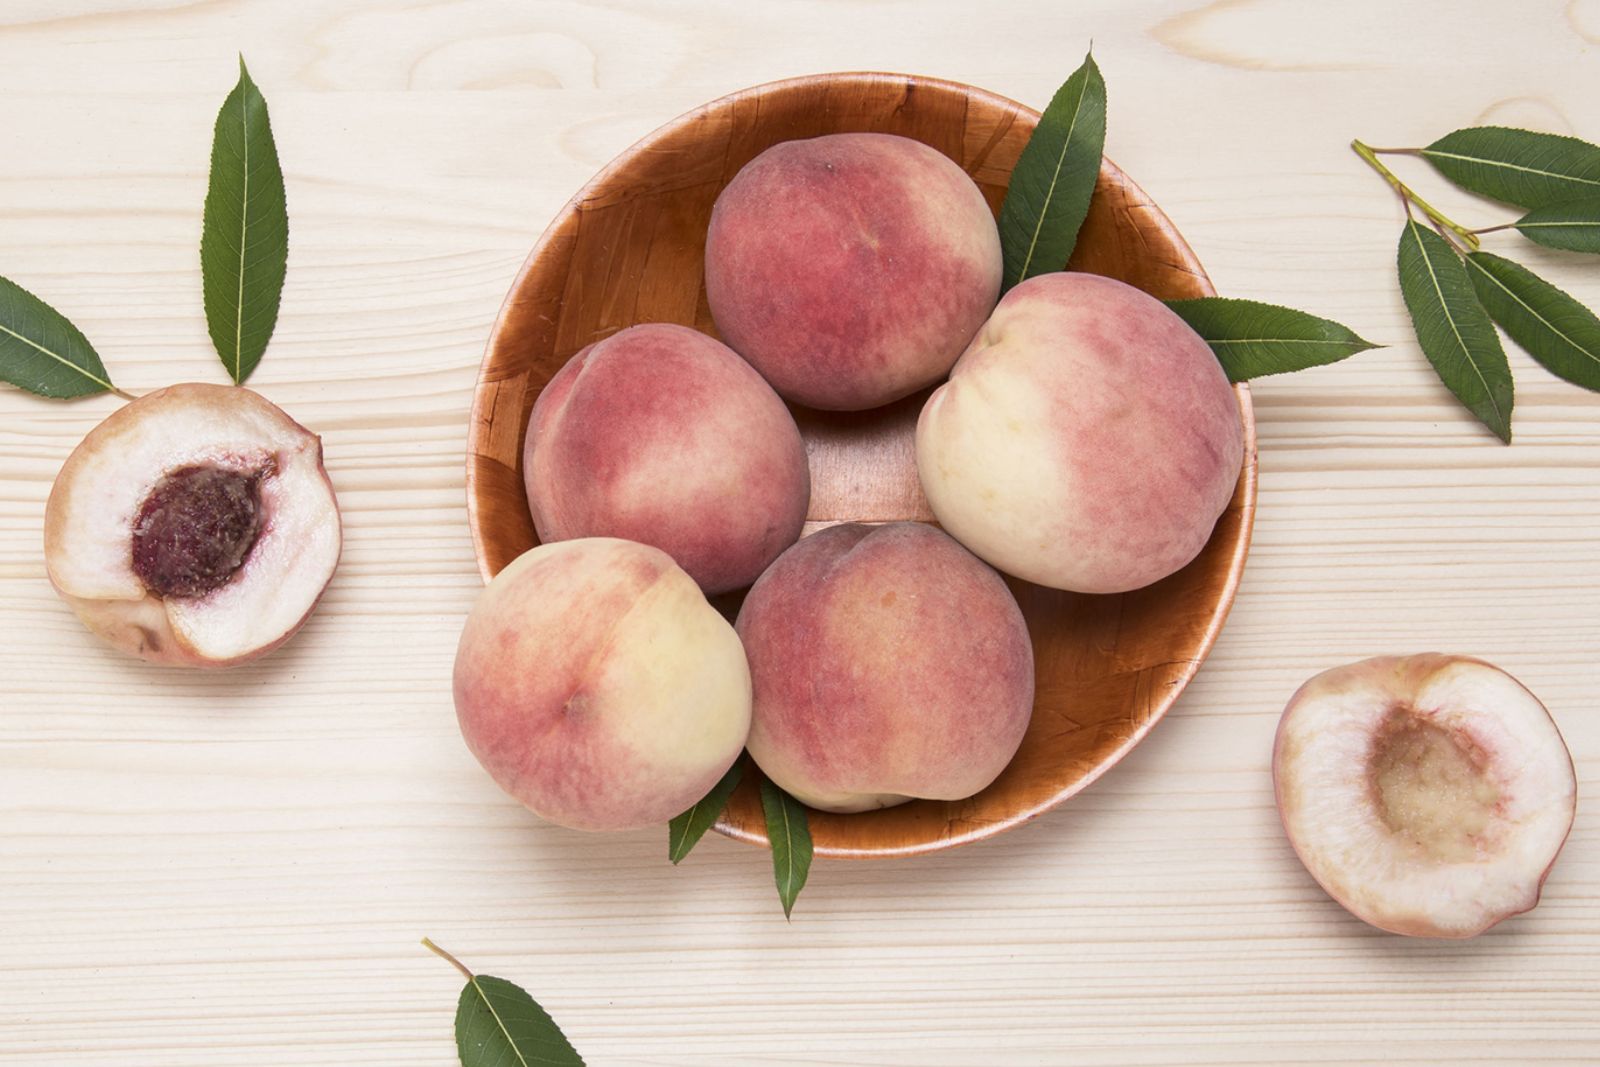
White peaches are a delightful variety of peaches known for their sweet, juicy, and aromatic flesh. These peaches have a pale ivory or creamy white color and are highly sought after for their unique taste and texture. Whether you’ve picked them from your own orchard or found them at the peak of freshness in the market, freezing white peaches is an excellent way to preserve their deliciousness and enjoy them all year round. This article presents a step-by-step guide on how to freeze white peaches properly, ensuring they maintain their flavor and nutritional value for future use.
Here’s a step-by-step guide on how to freeze white peaches:
- Step 1: Select ripe and fresh white peaches
- Step 2: Wash and peel the peaches
- Step 3: Slice and remove the pit
- Step 4: Treat with ascorbic acid solution
- Step 5: Arrange the Peach Slices for Flash-Freezing
- Step 6: Package and seal the peach slices
- Step 7: Label and date the packages
- Step 8: Store in the freezer
Step 1: Select ripe and fresh white peaches
Selecting ripe and fresh white peaches is the foundational step to ensure that your frozen peaches turn out flavorful and retain their natural sweetness. Here’s why this step is crucial:
- Optimal Taste and Texture: Ripe white peaches are at their peak of flavor, offering a perfect balance of sweetness and juiciness. When you freeze ripe peaches, their natural sugars and flavors are locked in, resulting in a delicious and enjoyable eating experience once thawed. On the other hand, underripe peaches might be less sweet and have a firmer texture, which can affect the overall quality of the frozen fruit.
- Enhanced Nutritional Value: Ripe peaches have reached their maximum nutrient content, including vitamins, minerals, and antioxidants. Freezing ripe peaches ensures that these valuable nutrients are preserved, making them a nutritious addition to your diet even during the off-season.
- Better Freezing Process: Ripe peaches have a higher water content, which aids in the freezing process. Water freezes into small ice crystals, contributing to a smoother texture when thawed. In contrast, underripe peaches may have less water content, leading to larger ice crystals that can cause the fruit to become mushy or lose its juiciness upon thawing.
- Reduced Risk of Spoilage: Choosing ripe peaches without any signs of bruising or damage minimizes the risk of spoilage during freezing and storage. Damaged or bruised peaches may harbor bacteria or mold, which can multiply during freezing and affect the quality of the frozen fruit.
To identify ripe white peaches, gently press the fruit with your fingers. Ripe peaches will yield slightly and feel soft to the touch. They should also emit a sweet and fragrant aroma around the stem end. Avoid peaches that feel hard or have greenish undertones, as they may not have fully developed their natural sweetness and flavor.
Can I freeze white peaches that are not fully ripe?
It is generally recommended to freeze ripe white peaches for the best flavor and texture. While you can freeze under ripe peaches, they may not develop the same sweetness and juiciness as fully ripe ones. Choose ripe and fresh white peaches for optimal freezing results.
Step 2: Wash and peel the peaches
Washing and peeling white peaches before freezing is an essential step that ensures the fruit is clean and ready for storage. Here’s why washing and peeling are recommended:
- Removing Surface Contaminants: Washing the peaches under cool running water helps eliminate any dirt, debris, or surface contaminants that may be present on the skin. Even if you plan to peel the peaches later, washing them beforehand reduces the risk of transferring any unwanted substances into the flesh when cutting or handling the fruit.
- Preserving Flavor and Aroma: Peeling the skin off the white peaches is optional and largely depends on personal preference. The skin of peaches, including white peaches, is thin and edible. It contributes a slightly different texture and flavor to the fruit. Some people prefer the softness and taste of the flesh without the skin, while others enjoy the added texture and nutrition the skin provides.
- Nutritional Value: The skin of white peaches contains dietary fiber, vitamins, and minerals that can be beneficial to health. Fiber aids in digestion, and vitamins such as vitamin C and certain minerals are known for their antioxidant properties. If you choose to keep the skin, you’ll retain these additional nutrients, contributing to a more wholesome frozen fruit.
- Aesthetic Appeal: Peeling white peaches may be desirable for certain recipes or presentations. In dishes like peach pies or tarts, where the appearance is crucial, removing the skin can result in a smoother, more uniform filling and a visually pleasing result.
If you decide to peel the peaches, follow these steps:
- Use a sharp knife: Gently score the skin of the peach with a small “X” at the bottom (opposite the stem end). This will make it easier to remove the skin later.
- Blanch and shock method (optional): To make peeling easier, you can blanch the peaches briefly in boiling water for about 30 seconds, then immediately transfer them to an ice water bath to cool rapidly (shocking). The blanching process loosens the skin, making it easier to peel off. However, this step is optional and not necessary for freezing peaches.
- Peel the skin: After blanching (if you choose to do so) or directly if you skip that step, use a sharp knife or a vegetable peeler to gently remove the skin from the peaches.
Whether you decide to peel the white peaches or leave the skin intact, washing them thoroughly is essential to ensure cleanliness and prevent any potential contamination. This step prepares the peaches for the next stages of freezing, such as slicing and treating with an ascorbic acid solution, helping maintain their natural color and flavor during storage.
Step 3: Slice and remove the pit
After washing and optionally peeling the white peaches, the next step in the freezing process is to slice the fruit and remove the pit. Here’s why this step is essential:
- Facilitating Freezing: Slicing the white peaches into uniform pieces allows them to freeze more efficiently and evenly. Smaller slices freeze faster than whole peaches, which helps preserve the fruit’s texture and prevent the development of large ice crystals. Even freezing ensures that the peaches retain their juiciness and flavor once thawed.
- Convenient Portioning: Slicing the peaches makes portioning easier when you eventually use the frozen fruit. You can thaw only the amount needed for a specific recipe or serving, without having to defrost an entire peach at once.
- Pit Removal: The peach pit, or stone, is the hard, woody center of the fruit that houses the seed. It is not edible and can be tough to chew on. Removing the pit is crucial for creating a smooth and enjoyable eating experience when using the frozen peaches later. Additionally, peach pits can be a choking hazard, especially for young children, so it’s essential to ensure they are entirely removed.
Here’s a step-by-step guide to slicing and removing the pit from white peaches:
- Cutting the Peaches: Use a sharp knife to carefully cut the white peaches in half, following the natural crease that runs from the stem end to the tip. Hold the peach firmly and gently apply even pressure while cutting. The ripe flesh should yield easily to the knife.
- Twisting to Separate: Once you have cut the peaches in half, hold each half in both hands and gently twist them in opposite directions. The halves should separate easily, revealing the pit in the center.
- Removing the Pit: To remove the pit, use your fingers or the tip of the knife to gently pry it out of the peach flesh. If the peach is ripe, the pit should come out cleanly. Be cautious when using the knife to avoid injuring yourself or damaging the fruit.
- Slicing the Peaches: With the pit removed, proceed to slice each peach half into uniform pieces. You can cut the peach into wedges, slices, or chunks, depending on your preference and intended use. Aim for consistent sizes to ensure even freezing and easy portioning later.
Can I freeze whole white peaches with the pit intact?
Freezing whole white peaches with the pit intact is not recommended. The pit can cause the fruit to freeze unevenly, and it may be challenging to remove the pit later when you want to use the peaches. It’s best to slice and remove the pit before freezing for optimal results.
Can I freeze white peach halves?
Yes, you can freeze white peach halves. After washing and removing the pit, place the peach halves on a baking sheet lined with parchment paper, and flash-freeze them for about 1 to 2 hours. Once frozen, transfer the halves into airtight containers or bags for long-term storage.
Step 4: Treat with ascorbic acid solution
Ascorbic acid, also known as vitamin C, is a natural antioxidant commonly used to preserve the color and quality of fruits, including white peaches, during freezing. Browning, or enzymatic oxidation, is a natural chemical reaction that occurs when fruits are exposed to oxygen. By treating white peach slices with an ascorbic acid solution, you can prevent or slow down this browning process. Here’s why this step is important:
- Retaining Visual Appeal: White peaches have a beautiful ivory or creamy color, and preventing browning helps maintain their attractive appearance. Freshly sliced peaches have a vibrant, appetizing look, and preserving this visual appeal is crucial when using the frozen fruit in desserts or dishes where aesthetics matter.
- Maintaining Nutritional Content: Ascorbic acid is a vital nutrient found in fruits, and its inclusion in the treatment solution ensures that the peach slices retain some of their vitamin C content during freezing. While freezing can cause minimal nutrient loss, using an ascorbic acid solution helps minimize this effect, allowing you to enjoy some of the essential vitamins and antioxidants present in the white peaches even after freezing.
Here’s a simple guide on how to treat white peach slices with an ascorbic acid solution:
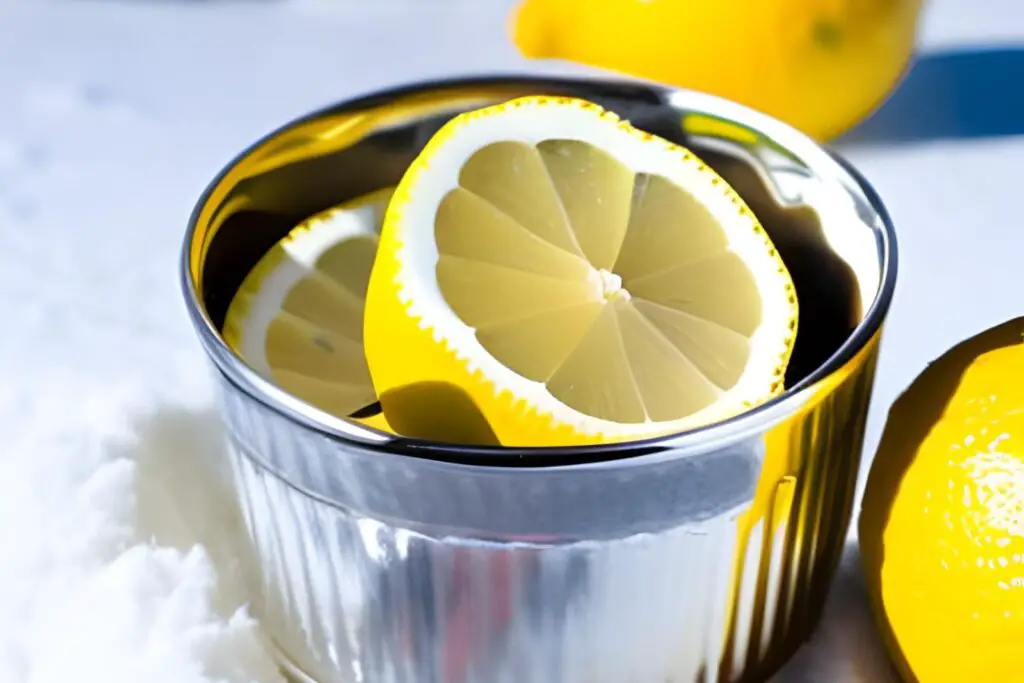
- Prepare the Solution: In a bowl, mix 1 tablespoon of lemon juice or vitamin C powder with 1 cup of water. Lemon juice is a readily available source of ascorbic acid, while vitamin C powder is a concentrated form. Both work effectively to prevent browning.
- Submerge the Peach Slices: Take the sliced white peach pieces and gently dip them into the ascorbic acid solution. Ensure that all the slices are fully submerged for a few seconds, allowing the solution to coat the fruit evenly.
- Drain Excess Liquid: After submerging the peach slices, remove them from the solution and let the excess liquid drain off. You can do this by placing the slices on a wire rack or using a clean paper towel.
- Proceed with Freezing: Once the excess liquid is drained, you can proceed with the next steps in the freezing process, such as arranging the peach slices on a baking sheet for flash freezing or directly packaging them for storage.
Step 5: Arrange the Peach Slices for Flash-Freezing
Flash freezing is a quick and effective method of freezing fruits, including white peach slices, that helps preserve their texture, flavor, and overall quality. This step is crucial in ensuring that the frozen peach slices remain separate from each other and don’t clump together. Here’s why flash freezing is beneficial:
- Preventing Clumping: When fruits are frozen without proper spacing, they can stick together, forming clumps or ice blocks. Flash freezing the peach slices on a baking sheet in a single layer ensures that each slice freezes individually. This prevents them from sticking together, making it easier to remove only the desired amount of peach slices when needed.
- Preserving Texture: Flash freezing allows the peach slices to freeze quickly and uniformly. The rapid freezing process forms smaller ice crystals, which helps maintain the fruit’s cellular structure and texture. When you thaw the peach slices later, they are less likely to become mushy or lose their natural juiciness.
- Reducing Freezer Burn: Flash freezing minimizes the chances of freezer burn. Freezer burn occurs when moisture on the fruit’s surface evaporates and then condenses, leading to the formation of ice crystals. This can result in dry, discolored patches on the fruit. By freezing the peach slices quickly, there is less time for large ice crystals to form, reducing the risk of freezer burn.
Here’s a step-by-step guide on arranging the peach slices for flash-freezing:
- Prepare the Baking Sheet: Line a baking sheet with parchment paper or a silicone mat. This prevents the peach slices from sticking to the surface and makes it easier to remove them once frozen.
- Lay the Peach Slices: Take the treated peach slices and arrange them in a single layer on the prepared baking sheet. Make sure to leave a small space between each slice, ensuring they don’t touch each other.
- Place in the Freezer: Carefully transfer the baking sheet with the peach slices to the freezer. Allow the peach slices to freeze for about 1 to 2 hours, or until they become firm and fully frozen.
Step 6: Package and seal the peach slices
Properly packaging and sealing the frozen peach slices are crucial steps in maintaining their quality and preventing freezer burn. Freezer burn occurs when air comes into contact with the frozen fruit, causing dehydration and oxidation, which can result in dry, discolored patches on the surface. Here’s why packaging and sealing are essential:
- Preventing Freezer Burn: Air is the enemy when it comes to freezing food. By placing the peach slices in airtight containers or resealable plastic bags and removing as much air as possible, you create a barrier that prevents air from reaching the fruit’s surface. This greatly reduces the risk of freezer burn, ensuring that the frozen peach slices retain their flavor and texture for an extended period.
- Preserving Freshness: Airtight packaging helps maintain the freshness of the frozen peach slices. It prevents the absorption of odors and flavors from other foods in the freezer, allowing the peaches to retain their natural taste.
- Convenient Portioning: Using airtight containers or resealable bags allows you to portion the frozen peach slices according to your needs. You can remove only the amount of peach slices required for a specific recipe or serving without exposing the rest of the fruit to air, preserving the remaining slices for later use.
Here’s a step-by-step guide on how to package and seal the peach slices:
- Airtight Containers: Choose freezer-safe, airtight containers that are appropriate for the quantity of peach slices you wish to freeze. Plastic containers with tight-fitting lids work well for this purpose.
- Resealable Plastic Bags: Alternatively, you can use resealable plastic bags made specifically for freezer storage. Select bags of the appropriate size to accommodate the peach slices without overcrowding.
- Fill and Seal: Carefully transfer the flash-frozen peach slices into the containers or bags. Spread them out in a single layer to avoid clumping. For bags, remove excess air before sealing by gently pressing on the bag as you close it. For containers, press the lid firmly to create an airtight seal.
- Label and Date: Remember to label each container or bag with the contents (e.g., “White Peach Slices”) and the date of freezing. This will help you keep track of the storage time and prioritize the use of the oldest packages first.
- Store in the Freezer: Place the sealed containers or bags of white peach slices in the freezer. Arrange them in a way that allows easy access and retrieval when needed.
Step 7: Label and date the packages
Labeling and dating the packages of frozen peach slices is a crucial organizational step that helps you maintain control over your frozen food inventory and ensure you use the oldest packages first. Here’s why this step is important:
- Storage Management: Freezers can quickly become filled with various frozen foods, making it challenging to remember when each item was stored. By labeling the packages with the contents and date of freezing, you create a clear and organized system for managing your frozen peach slices and other foods. This allows you to locate specific items easily and plan their usage accordingly.
- Optimal Freshness: Over time, frozen foods can gradually lose their quality and taste. By knowing the date of freezing, you can ensure you use the oldest packages first. This rotation system ensures that you consume the frozen peach slices while they are still at their peak flavor and texture. It helps avoid forgetting about certain packages at the back of the freezer for too long.
- Reducing Waste: Properly labeling and dating the packages of frozen peach slices help you keep track of their storage time. If a package has been in the freezer for an extended period, you can plan to use it in recipes that involve cooking or blending, where slight changes in texture won’t be as noticeable. This way, you can minimize food waste and make the most of your frozen peaches.
Here’s a simple guide on how to label and date the packages:
- Use Permanent Marker: Use a permanent marker or a freezer-safe label to write the contents (e.g., “White Peach Slices”) on each container or bag.
- Add the Freezing Date: Write the date when the white peach slices were frozen next to the contents. You can write the date in the format Month/Day/Year or Day/Month/Year, whichever is more convenient for you.
- Place the Label Clearly: Make sure the label is placed in a visible area on the container or bag. Avoid covering it with other items to ensure easy identification.
- Check and Rotate: Regularly check your frozen peach inventory, and when you plan to use them, make sure to use the oldest packages first. This rotation system ensures that nothing goes to waste, and you enjoy the best quality peaches throughout the year.
Step 8: Store in the freezer
Storing the sealed containers or bags of white peach slices in the freezer is the final step in the process of preserving these delicious fruits for long-term use. Proper freezing and storage are crucial to maintaining the quality and safety of the frozen peach slices. Here’s why this step is essential:
- Temperature Control: The freezer’s main purpose is to keep food at a consistently low temperature to prevent the growth of harmful bacteria and maintain the quality of frozen items. For best results with white peach slices, maintain the freezer temperature at 0°F (-18°C) or lower. At this temperature, the enzymatic and microbial activity within the peaches is significantly slowed down, helping to retain their flavor, texture, and nutritional value.
- Extended Shelf Life: Freezing white peach slices at the correct temperature allows them to remain safe and flavorful for an extended period. When stored at 0°F (-18°C) or lower, properly frozen peaches can retain their quality for about 10 to 12 months. Beyond this period, the peaches may still be safe to eat, but their texture and taste might degrade over time.
- Convenient Availability: Having frozen white peach slices readily available in the freezer allows you to enjoy the taste and nutrition of this delightful fruit throughout the year, even when it’s not in season. The convenience of having frozen fruit on hand enables you to prepare smoothies, desserts, fruit salads, and other recipes with ease.
Tips for Proper Freezer Storage:
- Organize: Arrange the sealed containers or bags of white peach slices in an organized manner in your freezer. Keep similar items together and label them clearly for easy identification.
- Avoid Overloading: Do not overload the freezer with too many items, as this can affect the freezer’s efficiency and temperature control. Leaving enough space for air circulation helps maintain a consistent temperature.
- Avoid Frequent Thawing and Refreezing: Try to remove only the amount of peach slices needed for immediate use, rather than thawing and refreezing multiple times. Frequent thawing and refreezing can compromise the quality of the fruit.
- Keep the Freezer Door Closed: Minimize the time the freezer door is open to prevent temperature fluctuations. This helps maintain a stable freezing environment for the white peach slices.
Other related questions
How do I defrost white peaches?
To defrost white peaches, transfer the frozen peach slices or chunks from the freezer to the refrigerator. Allow them to thaw slowly and evenly for several hours or overnight. Alternatively, you can place the frozen peach slices in a sealed plastic bag and submerge the bag in cold water for quicker thawing, replacing the water every 30 minutes until the peaches are thawed. Avoid using hot water or the microwave for thawing, as this can lead to loss of texture and flavor.
Can I refreeze white peaches?
It is generally not recommended to refreeze white peaches once they have been thawed. Thawing and refreezing can lead to a loss of texture, flavor, and overall quality of the peaches. It is best to use the thawed white peaches immediately or store any leftovers in the refrigerator for a short period to maintain their freshness.
How do I know if the white peaches have gone bad after being frozen?
To determine if frozen white peaches have gone bad, look for signs of spoilage such as an off-putting odor, mold growth, or an unusual texture (e.g., mushy or slimy). Discoloration or freezer burn on the surface can also indicate deterioration. If you observe any of these indicators, it is best to discard the frozen peaches to avoid potential health risks.
Can I freeze white peach puree or slices in sugar syrup?
Yes, you can freeze white peach puree or slices in sugar syrup. However, it’s important to note that adding sugar can affect the texture and taste. For unsweetened frozen peaches, follow the steps outlined in the article, but if you prefer sweetened peaches, prepare the sugar syrup and add it to the peaches before freezing.
What recipes can I use frozen white peaches in?
Frozen white peaches are versatile and can be used in a variety of recipes. They work well in smoothies, fruit salads, desserts like pies and cobblers, and as toppings for yogurt or ice cream. Thawed peach slices can also be used for baking or blending into sauces and sorbets.

