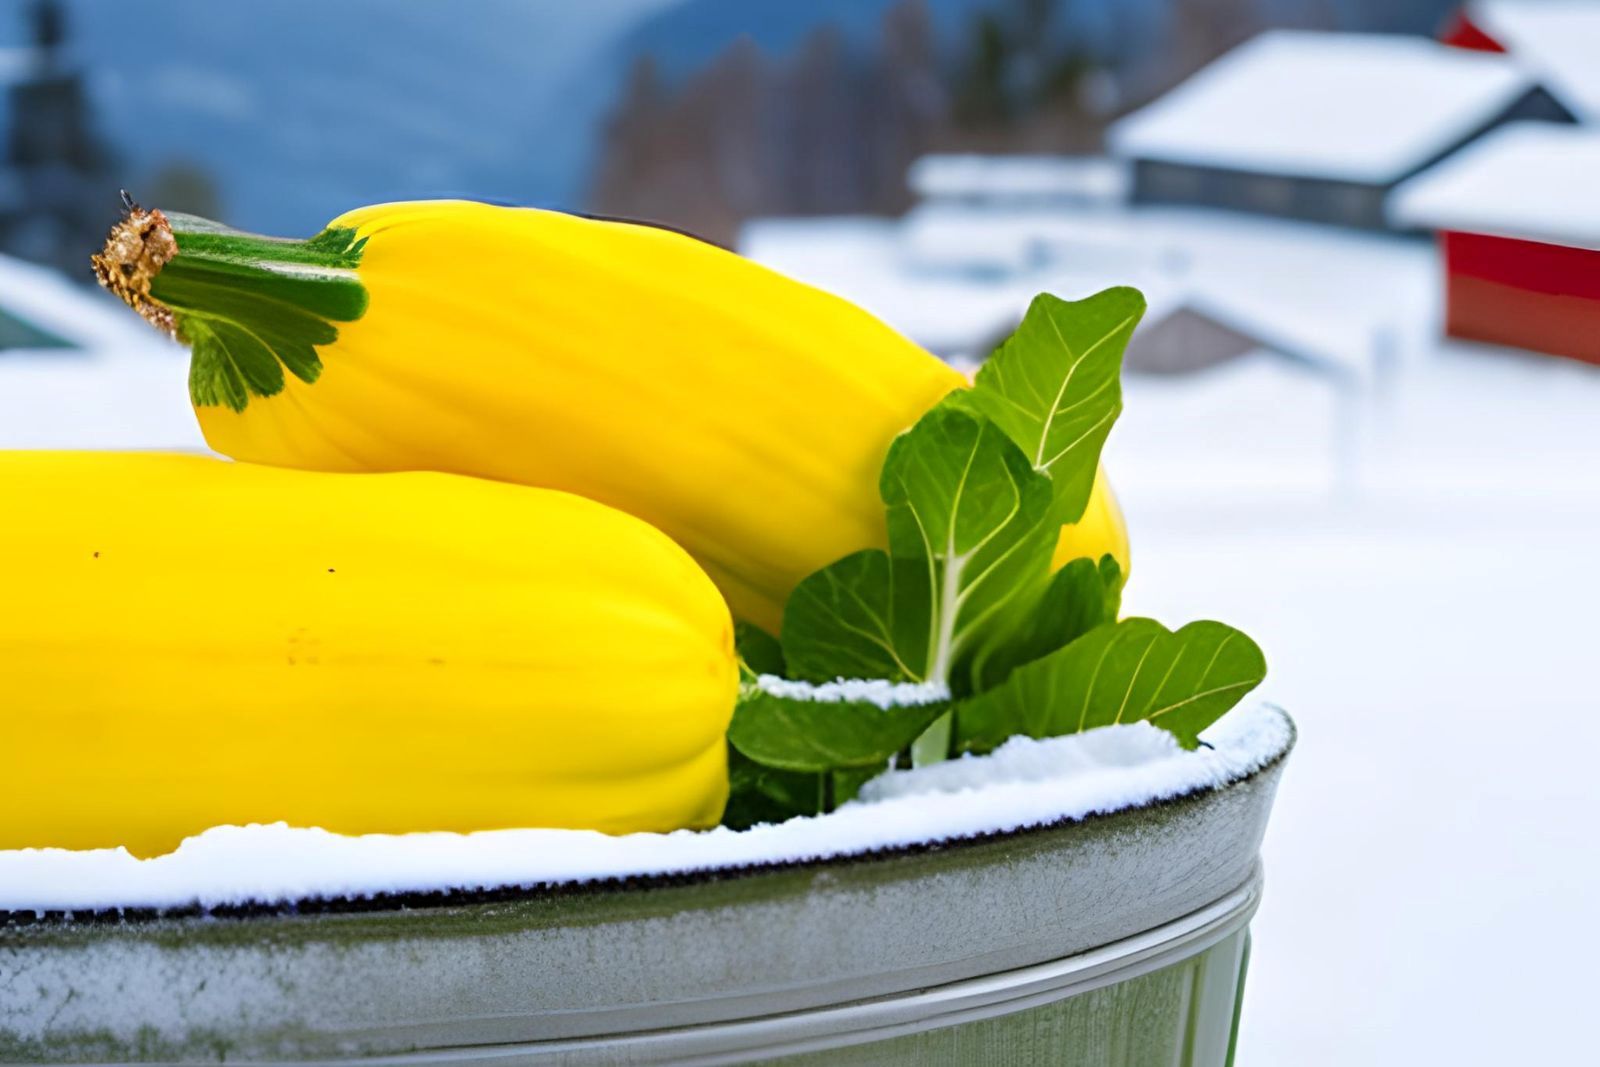
Yellow squash, also known as summer squash, is a versatile and nutritious vegetable that is widely enjoyed for its vibrant color and delicate flavor. With its smooth, yellow skin and tender flesh, yellow squash adds a delightful crunch and subtle sweetness to various dishes. It can be sautéed, grilled, baked, or even enjoyed raw in salads and slaws. Yellow squash is not only a delicious addition to meals but also a rich source of vitamins, minerals, and dietary fiber.
If you have an abundance of yellow squash or want to enjoy its goodness throughout the year, freezing can be a practical method to preserve its freshness. Freezing yellow squash allows you to extend its shelf life and retain its nutritional value, ensuring that you can add this versatile vegetable to your favorite recipes even when it’s out of season. In the following section, we will explore the process of freezing yellow squash and provide tips for maintaining its texture and flavor after thawing.
Here are the steps to freeze yellow squash:
Step 1: Prepare the squash
To ensure proper freezing and optimal taste and texture when thawed, it’s essential to prepare the yellow squash correctly before freezing. Here’s a detailed explanation of the first step:
- Washing the yellow squash: Begin by washing the yellow squash thoroughly under cool running water. This step helps remove any dirt, debris, or potential contaminants from the surface of the squash. Gently rub the squash with your hands or use a vegetable brush to clean off any stubborn dirt.
- Trimming off the ends: Once the squash is clean, trim off both ends using a sharp knife. The stem end and the blossom end can be tough and less desirable to eat. By removing these ends, you ensure that you have clean and uniform pieces of squash for freezing.
- Cutting into preferred shapes: Depending on your preference and intended use, cut the yellow squash into shapes that suit your needs. You can slice the squash into rounds, cube it, or cut it into strips. The choice of shape will depend on how you plan to use the frozen squash in your future recipes. For example, slices are suitable for stir-fries, while cubes are great for soups or stews.
- Removing seeds if necessary: Yellow squash typically has soft and edible seeds. However, if you prefer seedless squash or if the seeds are large and mature, you can remove them. Simply cut the squash lengthwise and use a spoon or knife to scoop out the seeds. This step is optional and based on personal preference.
Step 2: Blanch the squash
Blanching is a crucial step in the freezing process of yellow squash as it helps maintain the quality, texture, and color of the squash. Here’s a detailed explanation of why blanching is important:
- Preserving quality: Blanching involves partially cooking the squash by exposing it to boiling water for a short period. This process helps inactivate enzymes present in the squash that can cause undesirable changes in texture, flavor, and color over time. By blanching, you can preserve the natural qualities of the squash and ensure that it retains its freshness and taste even after freezing.
- Retaining texture: Yellow squash has a delicate texture, and blanching helps retain its crispness and firmness. The brief exposure to boiling water softens the outer layers of the squash while maintaining its overall structure. This ensures that when you thaw and cook the squash later, it will have a pleasant texture and won’t become mushy or overly soft.
- Retaining color: Blanching also helps preserve the vibrant color of yellow squash. The enzymes responsible for color changes are inactivated during blanching, preventing the squash from darkening or losing its appealing hue. This way, when you use the frozen squash in your recipes, it will still have an appetizing appearance.
- Nutrient retention: While blanching involves partial cooking, it’s important to note that it is done for a short duration. This brief exposure helps minimize nutrient loss and ensures that the frozen squash retains a good portion of its vitamins, minerals, and other beneficial compounds. Blanching strikes a balance between preserving the squash’s nutritional value and maintaining its quality during freezing.
By blanching the yellow squash before freezing, you take an essential step to preserve its overall quality, texture, color, and nutrients. It’s a simple yet effective technique that enhances the frozen squash’s shelf life and ensures a satisfying culinary experience when you use it in your future dishes.
Step 3: Cool and drain
After blanching the yellow squash, it’s crucial to cool it down rapidly and remove any excess moisture before freezing. Here’s a detailed explanation of why cooling and draining are important steps:
- Halting the cooking process: By transferring the blanched squash to an ice bath, you rapidly cool it down. This immediate cooling helps halt the cooking process, preventing the squash from becoming overcooked or losing its desirable texture. It ensures that the squash retains its firmness and crispness, even after freezing and subsequent thawing.
- Preserving color and nutrients: Cooling the squash in an ice bath helps maintain its vibrant color. The rapid temperature change helps lock in the natural pigments and prevents any potential color loss or discoloration. Additionally, the quick cooling helps preserve the nutritional value of the squash by minimizing further nutrient degradation that can occur during the cooling process.
- Removing excess moisture: Thoroughly draining the cooled squash is essential to remove any excess water. Excess moisture can lead to the formation of ice crystals during freezing, which can negatively affect the texture and quality of the frozen squash. By draining the squash, you reduce the chances of freezer burn and maintain the integrity of the vegetable.
- Preventing clumping and freezer damage: Draining the squash thoroughly before freezing also helps prevent the pieces from clumping together. Clumped squash can be difficult to separate when you want to use only a portion of it. Additionally, excess moisture can contribute to freezer damage, affecting the overall quality of the frozen squash.
Step 4: Package and freeze
Proper packaging is crucial when freezing yellow squash to maintain its quality and prevent freezer burn. Here’s a detailed explanation of why packaging and air removal are important:
- Airtight packaging: Place the drained yellow squash into airtight freezer bags or containers. Airtight packaging helps create a barrier that prevents the entry of moisture and air, which can lead to freezer burn and deterioration of the squash’s texture and flavor. It also helps protect the squash from absorbing any unwanted odors from the freezer.
- Air removal: When using freezer bags, it’s essential to remove as much air as possible before sealing. Air contains moisture and can lead to the formation of ice crystals on the squash, causing freezer burn. Removing the air helps maintain the quality and taste of the frozen squash. One effective method is to use the “burping” technique, where you seal the bag almost completely, leaving a small opening to squeeze out excess air before sealing it completely.
- Vacuum-sealed bags and airtight containers: Alternatively, you can use vacuum-sealed bags or airtight containers specifically designed for freezing. Vacuum-sealing removes the air entirely, providing an optimal environment for long-term freezer storage. Airtight containers with tight-fitting lids also offer excellent protection against air and moisture.
- Labeling: Don’t forget to label the freezer bags or containers with the contents and date of freezing. This step ensures that you can easily identify the frozen yellow squash and keep track of its freshness. Use a permanent marker or freezer-safe labels to clearly mark the packaging.
By properly packaging the drained yellow squash in airtight bags or containers and removing excess air, you create a protective environment that minimizes the risk of freezer burn and maintains the quality of the frozen squash.
Step 5: Label and date
Labeling the freezer bags or containers with the contents and date of freezing is a crucial step when freezing yellow squash. Here’s a detailed explanation of why labeling and dating are important:
- Easy identification: By labeling the freezer bags or containers, you make it easy to identify the contents without having to open each package. When you’re looking for yellow squash specifically, clear labeling helps you quickly locate it in your freezer. This saves time and effort, especially when you have multiple frozen items.
- Freshness tracking: Labeling the bags or containers with the date of freezing allows you to track the freshness of the frozen squash. It helps you determine how long the squash has been in the freezer, making it easier to use older packages first and maintain a proper rotation system. This ensures that you consume the yellow squash within the recommended time frame for the best quality and flavor.
- Preventing waste: By clearly labeling the packaging, you can easily identify the frozen yellow squash that needs to be used sooner. This prevents unnecessary waste by reminding you to prioritize using older packages before their quality declines. It helps you make the most of your frozen squash and avoid forgetting about it in the freezer.
- Marker or freezer-safe labels: Use a permanent marker or freezer-safe labels to write the contents and date on the bags or containers. Ordinary markers may fade or smudge over time due to the cold temperatures of the freezer. Freezer-safe labels or markers are designed to withstand freezing temperatures, ensuring that the information remains clear and visible throughout the storage period.
This simple yet important step ensures that you can enjoy the best quality yellow squash for an extended period while minimizing waste and maintaining a well-managed freezer inventory.
Step 6: Freezing and storage
After packaging the yellow squash in airtight freezer bags or containers, it’s time to place them in the freezer. Initially, it’s recommended to store them in a single layer. This allows for quick and even freezing of the individual pieces, ensuring that they retain their texture and flavor.
Once the squash is frozen solid, which typically takes several hours, you can stack the packages to optimize space in the freezer. Stacking is permissible because the squash is already frozen, and the packages won’t stick together. However, it’s a good idea to separate the packages with parchment paper or plastic wrap to prevent them from freezing together.
When selecting a designated area in the freezer, choose a spot where the yellow squash won’t get crushed or disturbed by other items. Placing them on a flat surface or in a designated basket or tray can help keep them organized and prevent accidental damage. It’s also advisable to avoid storing the squash near the freezer door or in areas prone to temperature fluctuations, as this can affect the quality of the frozen squash.
By following these freezing and storage guidelines, you can ensure that your frozen yellow squash maintains its taste, texture, and nutritional value. When it’s time to use the squash, simply remove the desired amount from the freezer, reseal the package tightly, and promptly return the remaining squash to the freezer
Other related questions
How do you thaw yellow squash?
To thaw yellow squash, there are a few methods you can use. The easiest method is to transfer the frozen squash to the refrigerator and let it thaw overnight. This will ensure a slow and even thawing process, which will help to maintain the texture and flavor of the squash. If you need to thaw the squash more quickly, you can place it in a colander and run it under cool water until it thaws completely. You can also microwave the squash on the defrost setting for a few minutes, stirring occasionally, until it’s fully thawed. Regardless of your chosen method, always ensure the squash is fully thawed before using it in your recipe.
How long can I freeze yellow squash in the freezer?
Yellow squash can be frozen in the freezer for up to three to four months. Before freezing, it’s important to prepare the squash properly. Start by washing and cutting the squash into desired shapes, such as slices or cubes. Blanch the squash by boiling it for about two minutes, then immediately transfer it to an ice bath to cool. Drain and pat dry the squash before placing it in airtight freezer bags or containers. Remember to label the bags with the date to keep track of their freshness.
Can you refreeze the squash after it has been thawed?
It’s generally not recommended to refreeze squash after it has been thawed, as this can affect the quality and safety of the squash. When you thaw squash, the ice crystals that form during freezing melt and can create a breeding ground for bacteria and other microorganisms. Refreezing the squash can lead to even more ice crystal formation and promote the growth of these microorganisms, which can lead to spoilage and foodborne illness. To ensure the best quality and safety, it’s best to thaw squash only once and then consume it within a reasonable amount of time, ideally within 24 to 48 hours of thawing. If you have leftover thawed squash, it’s best to use it up or discard it rather than refreezing it.
How do I know if frozen yellow squash has gone bad?
If frozen yellow squash has gone bad, it may have a mushy or slimy texture, a sour or unpleasant smell, or discoloration. If the squash looks or smells off, it’s best to discard it. Additionally, if the squash has been stored for more than 6 to 8 months, it may have lost some of its flavor and nutrients, and it may not taste as good as fresh squash. To ensure the safety and quality of the squash, always check it before using it in a recipe, and discard it if it appears spoiled.
Can you use frozen yellow squash with the fresh ones?
Yes, you can use frozen yellow squash alongside fresh squash in recipes. Keep in mind that the texture of the frozen squash may be slightly softer than that of the fresh squash, but this should not significantly impact the overall quality of the dish. When using frozen squash alongside fresh squash, it’s important to remember that the frozen squash will release some water as it thaws, which can affect the consistency of the dish. To avoid this, you may want to drain the frozen squash before using it in your recipe or adjust the amount of liquid in the recipe accordingly.
Can I freeze yellow squash that has been seasoned or flavored?
Yes, you can freeze yellow squash that has been seasoned or flavored. However, keep in mind that freezing and thawing may affect the texture and flavor of the squash, so it’s best to season it lightly or add the flavors later when reheating. For example, you could freeze plain blanched squash and then season it with herbs and spices when you reheat it. Alternatively, you could freeze yellow squash that has been cooked with a sauce or seasoning, but be aware that the texture and flavor may change slightly after freezing and reheating. It’s important to store the seasoned or flavored yellow squash in airtight containers or freezer bags and remove as much air as possible to prevent freezer burn.
Is it safe to eat frozen yellow squash raw?
It is generally not recommended to eat frozen yellow squash raw, as it can be tough and unpleasant in texture. Freezing alters the texture and consistency of squash, making it softer and more suitable for cooked dishes. Additionally, freezing does not eliminate any potential bacteria or contaminants in the squash, which could make you sick if consumed raw. To ensure the safety and quality of the squash, it’s best to thaw it first and then cook it before eating. This will also improve the flavor and texture of the squash, making it a more enjoyable and nutritious addition to your meals.

