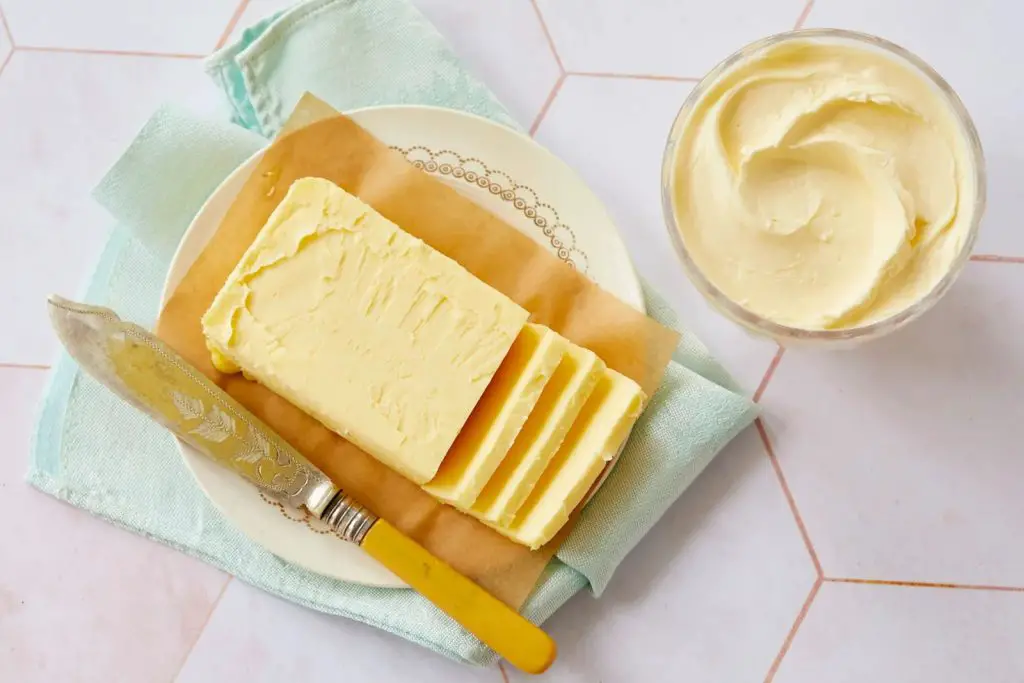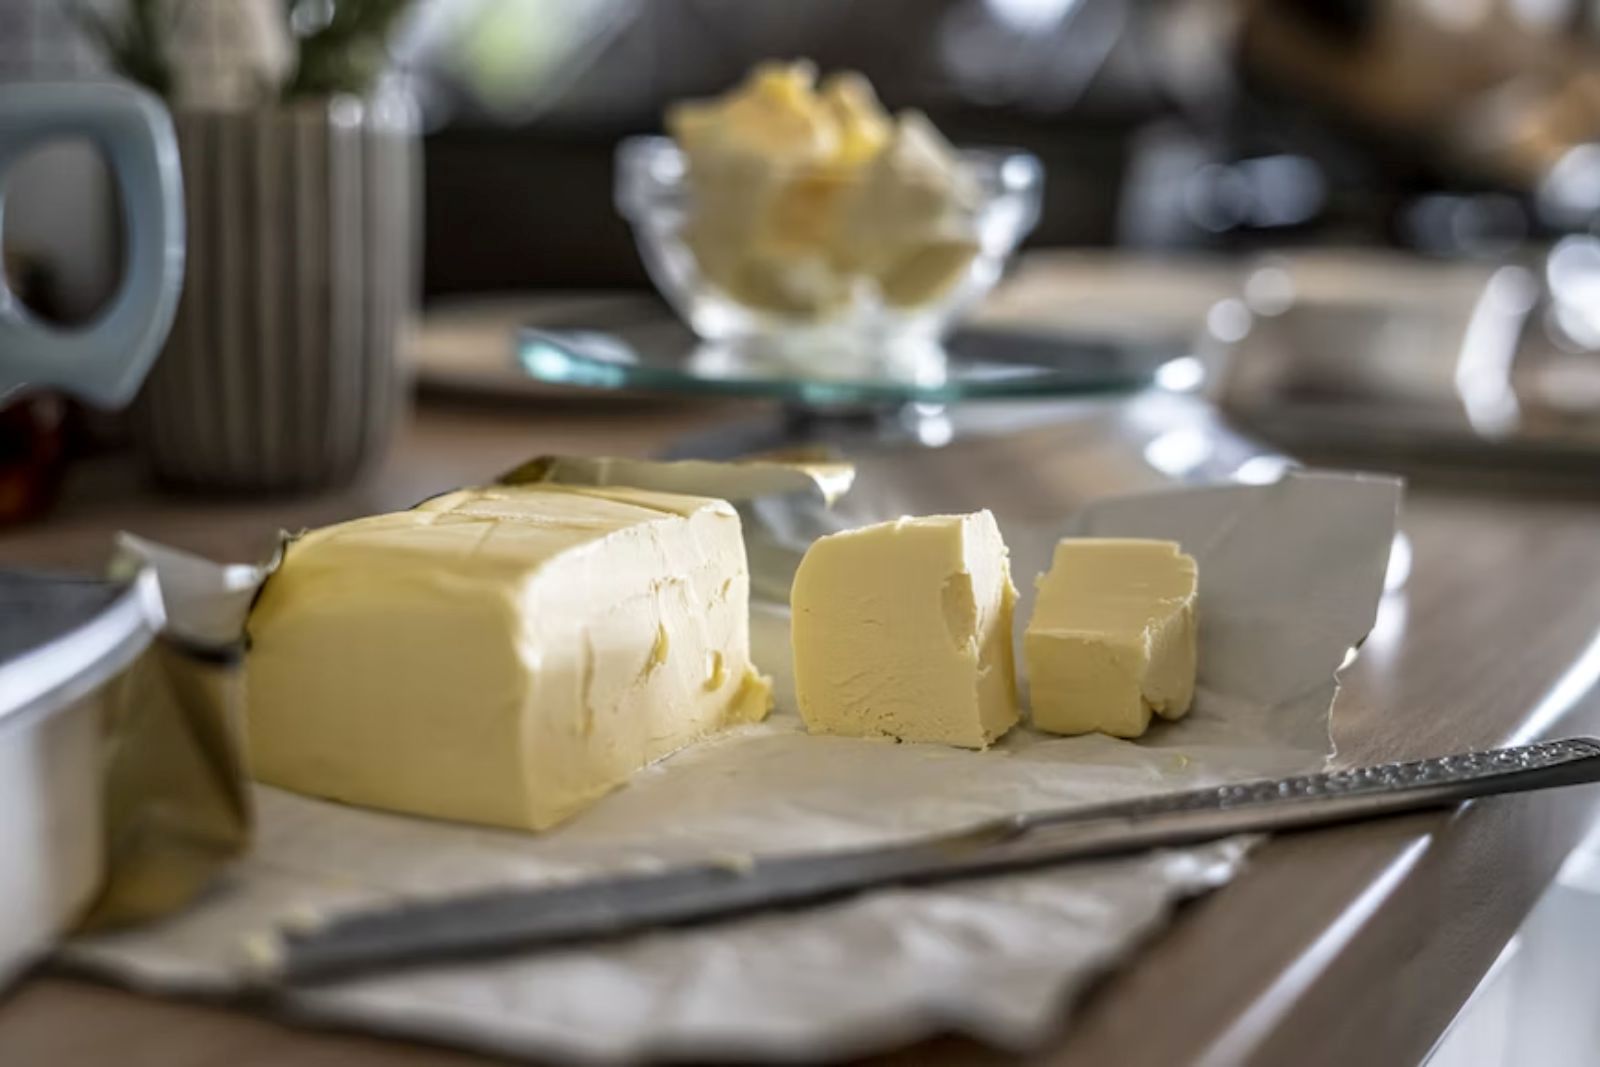
Butter is a dairy product made of churning cream or milk. It has a rich, creamy texture and a distinct flavor. Butter is used in cooking, baking, and as a spread. It contains essential nutrients and is a source of dietary fat. Butter can be made from cow’s milk or other animals’ milk. It comes in salted and unsalted varieties and is valued for its versatility and ability to enhance the taste of different dishes. Freezing butter is a convenient way to preserve it for future use and ensure you always have it on hand. Whether you bought butter in bulk or want to save some for later, properly freezing it will help maintain its quality and freshness.
Here are the steps to freeze butter:
- Step 1: Choose the right butter
- Step 2: Cut the butter into portions
- Step 3: Wrap each portion tightly in wax paper or plastic wrap
- Step 4: Place the wrapped butter portions in a freezer-safe bag
- Step 5: Remove excess air from the bag and seal it tightly
- Step 6: Label the bag with the date of freezing
- Step 7: Place the bag of butter in the freezer
Step 1: Choose the right butter
When it comes to freezing butter, selecting the right type is an important consideration. While both unsalted and salted butter can be frozen, there are a few factors to keep in mind.
Unsalted butter is typically recommended for freezing because it has a longer shelf life compared to salted butter. Without the added salt, unsalted butter is less prone to developing off flavors during storage. This is particularly important if you plan to store the butter for an extended period.
On the other hand, if you only have salted butter available or prefer the flavor it imparts, you can still freeze it. The salt in salted butter acts as a natural preservative, helping to maintain its quality to some extent. However, keep in mind that the salt content may slightly affect the taste and overall performance of the butter in certain recipes.
Ultimately, the choice between unsalted and salted butter for freezing depends on personal preference and the intended use of the butter after thawing. If you prioritize a longer shelf life and minimal flavor alterations, unsalted butter is the preferred option. But if you enjoy the taste of salted butter and don’t mind potential minor flavor changes, freezing salted butter can still yield satisfactory results.
Step 2: Cut the butter into portions
Dividing the butter into smaller portions before freezing offers practical benefits when it comes to convenience and thawing. Here’s why cutting the butter into portions is a recommended step:
- Ease of use: By cutting the butter into smaller portions, such as sticks or cubes, you create individual servings that are easier to handle and measure when needed. It eliminates the need to thaw the entire block of butter if you only require a smaller amount for a recipe.
- Faster thawing: Smaller portions of butter thaw more quickly than a large block. When you need to use the butter, having it divided into smaller pieces allows for faster and more even thawing. This is especially useful if you’re in a rush or working with time-sensitive recipes.
- Portion control: Cutting the butter into portions gives you better control over the amount you use. This is particularly useful when following precise measurements in recipes. It ensures that you can easily retrieve the desired quantity of butter without the hassle of thawing and refreezing the entire block.
- Reduced waste: Dividing the butter into portions helps minimize waste. Instead of thawing the whole block and potentially not using it all, you can take out only the required amount and return the rest to the freezer for future use. It promotes efficiency and avoids unnecessary waste.
When cutting the butter into portions, you have the flexibility to choose a size that suits your needs. Whether you prefer sticks, cubes, or any other shape, ensure that each portion is individually wrapped for protection and easy identification. This step adds convenience to the freezing process and makes it more convenient when it’s time to use the butter later on.
Can I freeze butter without cutting?
Yes, you can freeze butter without cutting it into portions. Freezing a whole stick or block of butter is a convenient option if you prefer to thaw and use larger quantities at once. However, keep in mind that it may take longer to thaw compared to smaller portions, and you may need to plan accordingly when using frozen butter for recipes.
Step 3: Wrap each portion tightly in wax paper or plastic wrap
Wrapping each portion of butter tightly in wax paper or plastic wrap is an essential step in the freezing process. Here’s why it is important and how it helps preserve the butter’s quality:
- Protection from freezer burn: Freezer burn occurs when food is exposed to air in the freezer, leading to dehydration and the deterioration of texture and flavor. By tightly wrapping each portion of butter, you create a barrier that helps prevent air from reaching the surface of the butter. This significantly reduces the risk of freezer burn and helps maintain the butter’s freshness.
- Preservation of flavor and aroma: Butter has a high fat content, which makes it susceptible to absorbing odors from other foods in the freezer. Wrapping each portion individually creates a protective layer that helps prevent the butter from picking up unwanted flavors or smells from its surroundings. This ensures that the butter retains its own distinct flavor and aroma when thawed.
- Easy portion retrieval: Individually wrapping each portion of butter allows for easy access and retrieval. You can take out only the required amount of butter without disturbing the rest of the portions. It eliminates the need to thaw the entire batch when you only need a portion, reducing waste and ensuring the unused butter remains protected.
When wrapping the butter portions, ensure a tight seal to minimize air exposure. Wax paper or plastic wrap are commonly used materials for this purpose. They provide a moisture-resistant and airtight barrier, keeping the butter protected during freezing.
Step 4: Place the wrapped butter portions in a freezer-safe bag
Placing the wrapped butter portions in a freezer-safe bag is a crucial step in the freezing process. Here’s why using a bag and arranging the portions properly is important:
- Added protection: While individually wrapping each portion provides a degree of protection, placing them in a freezer-safe bag adds an extra layer of defense against freezer burn and potential moisture intrusion. The bag acts as an additional barrier to prevent air from reaching the butter, further safeguarding its quality.
- Minimize odor absorption: Using a bag helps isolate the butter from other foods in the freezer, reducing the likelihood of it absorbing unwanted odors. This is especially important if you have strong-smelling items stored in the freezer, as the bag helps maintain the butter’s original flavor and aroma.
- Organization and space optimization: Placing the wrapped butter portions in a bag allows for better organization in the freezer. It keeps the portions together, making it easier to locate and retrieve them when needed. Additionally, arranging the portions in a single layer within the bag helps prevent them from sticking together, ensuring that you can separate and use individual portions as required.
- Moisture control: Freezer-safe bags are designed to be moisture-resistant, which helps prevent moisture from seeping into the butter and causing unwanted texture changes. The bag acts as a barrier against potential condensation, keeping the butter in optimal condition during freezing.
When choosing a freezer-safe bag, opt for a zip-top bag as it provides a secure seal and is easy to open and close. Ensure the bag is specifically labeled as suitable for freezer use to guarantee its effectiveness.
When placing the wrapped butter portions in the bag, arrange them in a single layer to prevent them from sticking together. This allows for easier portion retrieval without having to thaw the entire batch.
Can I freeze butter in silicone molds or ice cube trays?
Yes, you can freeze butter in silicone molds or ice cube trays. Using silicone molds or ice cube trays allows you to portion the butter into convenient individual servings, making it easier to use as needed. Ensure the molds or trays are freezer-safe and adequately sealed to prevent the butter from absorbing odors or developing freezer burn.
Can you freeze butter in a plastic container?
Yes, you can freeze butter in a plastic container as long as it is freezer-safe. Look for containers specifically labeled as freezer-safe to ensure they can withstand low temperatures without becoming brittle or cracking. Properly sealed and airtight plastic containers provide good protection against freezer burn and help maintain the quality of the butter during freezing and storage.
Can I freeze butter in its original packaging?
It is generally recommended to remove the butter from its original packaging before freezing. The original packaging may not be designed for long-term freezer storage and may not provide adequate protection against freezer burn. Transferring the butter to airtight and freezer-safe containers or wrapping it tightly in wax paper or plastic wrap helps maintain its quality and prevents potential issues during freezing and storage.
Step 5: Remove excess air from the bag and seal it tightly
Removing excess air from the bag and sealing it tightly is a crucial step in the freezing process. Here’s why it is important and how it helps preserve the butter:
- Prevent freezer burn: Freezer burn occurs when food is exposed to air, causing dehydration and a deterioration in quality. By removing excess air from the bag, you minimize the amount of air surrounding the butter portions, reducing the risk of freezer burn. This helps maintain the butter’s texture, flavor, and overall quality during storage.
- Maintain freshness: Air contains moisture, and excessive air within the bag can contribute to the formation of ice crystals on the butter’s surface. These ice crystals can negatively affect the texture and taste of the butter. By squeezing out the excess air, you minimize moisture exposure and help the butter retain its freshness and integrity.
- Efficient use of freezer space: Removing excess air from the bag allows for more efficient use of freezer space. It helps minimize the bag’s bulk, enabling you to arrange and stack the butter portions more effectively. This is particularly useful if you have limited freezer space or need to store other items alongside the butter.
To remove excess air from the bag, gently press on the bag while simultaneously squeezing out the air. Start from the bottom of the bag and work your way up, gradually pushing the air toward the top. Once you have removed as much air as possible, seal the bag tightly to prevent any air from entering.
Sealing the bag tightly is essential to maintain a proper barrier between the butter and the surrounding environment. A secure seal prevents air and moisture from seeping into the bag and compromising the quality of the butter.
Step 6: Label the bag with the date of freezing
Labeling the bag with the date of freezing is a simple yet important step when it comes to freezing butter. Here’s why it is necessary and how it helps:
- Freshness tracking: By labeling the bag with the date of freezing, you establish a reference point for the butter’s storage duration. Over time, butter can start to lose its quality, flavor, and texture. By knowing the date of freezing, you can keep track of how long the butter has been stored in the freezer and prioritize using the older portions first. This ensures that you consume the butter before it becomes too old and potentially loses its optimal taste and texture.
- Rotation and inventory management: Labeling the bag allows you to maintain a proper inventory of your frozen butter portions. By knowing the date of freezing, you can easily identify the order in which the butter was stored. This helps with rotation management, as you can ensure that older portions are used before newer ones. It also helps avoid wastage by using the butter within a reasonable time frame.
- Planning and recipe adjustments: Having the date of freezing on the bag enables you to plan your recipes accordingly. If a recipe specifies using fresh butter or if you prefer using the freshest ingredients possible, you can make adjustments based on the freezing date. This information allows you to choose the right butter for your recipes and ensure the best possible results.
When labeling the bag, use a permanent marker or a label that adheres well to the bag’s surface. Clearly write the date of freezing in a visible and legible manner. If you have multiple bags of frozen butter, it’s helpful to label each bag individually.
Step 7: Place the bag of butter in the freezer
Placing the bag of wrapped butter portions in the freezer is the last step in the process of freezing butter. Here’s why it is important and how to ensure optimal storage:
- Temperature control: The freezer provides a controlled environment with low temperatures that help preserve the quality and freshness of the butter. By placing the bag in the freezer promptly, you ensure that the butter is subjected to the proper freezing conditions to maintain its texture and flavor.
- Easy access and organization: Position the bag in a way that allows for easy access and organization. Consider designating a specific area in the freezer for the butter portions. This makes it convenient to retrieve them when needed without disturbing other items. It also helps maintain order and prevents accidental damage to the butter portions.
- Odor avoidance: Be mindful of the placement of the butter in the freezer, particularly in relation to strong-smelling foods. Butter can absorb odors easily, and storing it near strongly scented items may compromise its taste and aroma. To preserve the butter’s natural flavors, place it away from foods with potent smells, such as fish or heavily spiced dishes.
- Frost-free zones: Ensure that the bag is placed in a frost-free zone of the freezer if possible. Frost-free areas experience less fluctuation in temperature and humidity, reducing the risk of ice crystals forming on the butter’s surface.
Remember to close the freezer door securely after placing the bag inside to maintain consistent freezing temperatures.
What is the recommended temperature for freezing butter?
The recommended temperature for freezing butter is below 0 degrees Fahrenheit (-18 degrees Celsius). Freezing the butter at this low temperature helps preserve its freshness and quality. It is important to ensure that your freezer maintains a consistent temperature to prevent fluctuations that could affect the butter’s texture and flavor during freezing.
Other related questions
How long can butter last in the freezer?
Butter can last in the freezer for up to 6-9 months without a significant loss in quality. Properly wrapped and stored, it remains safe to consume beyond this time, but the texture and flavor may deteriorate gradually. To maximize freshness, it’s recommended to use frozen butter within the first 6-9 months of freezing.
How do I defrost butter?
To defrost the butter, transfer the desired amount from the freezer to the refrigerator. Allow it to thaw slowly and evenly in the refrigerator for several hours or overnight. Avoid defrosting butter at room temperature or using the microwave, as it can lead to uneven softening or melting.
Are there any tips for thawing frozen butter quickly when I need to use it?
When you need to thaw frozen butter quickly, there are a few tips to expedite the process. One method is to grate the frozen butter using a cheese grater, which increases its surface area and allows it to soften faster. Another option is to cut the frozen butter into smaller pieces or slices to facilitate quicker thawing. Additionally, you can place the wrapped butter in a sealed plastic bag and submerge it in a bowl of lukewarm water, ensuring the water doesn’t touch the butter directly.
Can I refreeze the butter?
It is generally safe to refreeze butter that has been previously frozen, as long as it has been handled and stored properly. However, repeated freezing and thawing can affect the texture and quality of the butter over time. To maintain optimal freshness, it is recommended to limit refreezing and use the butter within a reasonable time frame after the initial thawing.
How do I know if the butter has gone bad after being frozen?
After being frozen, if butter develops an off smell, a rancid or sour odor, or shows signs of mold growth, it may have gone bad and should be discarded. Additionally, it is likely spoiled if the butter’s texture has significantly changed, with a grainy or watery consistency. Always trust your senses and exercise caution when consuming butter that has been frozen for an extended period or exhibits signs of spoilage.
Can I freeze homemade flavored or compound butter?
Yes, homemade flavored or compound butter can be frozen successfully. However, it’s important to consider the ingredients used in the flavored butter. Ingredients like fresh herbs or garlic may experience a slight change in texture after freezing. It’s recommended to wrap the flavored butter tightly in plastic wrap or wax paper, then place it in an airtight container or freezer bag before freezing to maintain its flavor and prevent freezer burn.
Are there any alternative methods to freezing butter, such as using a butter keeper?
Yes, there are alternative methods to freezing butter, one of which is using a butter keeper. A butter keeper is a specialized container that keeps butter fresh and spreadable at room temperature. It typically consists of a base filled with water, creating an airtight seal that prevents the butter from spoiling while maintaining its soft texture. Butter keepers are a popular option for those who prefer to store butter outside of the refrigerator for easy access and optimal spreading consistency.
Can you freeze spreadable butter?
While spreadable butter is typically made by blending regular butter with oils or other ingredients to enhance its spreadability, it can still be frozen. However, it’s important to note that the texture and consistency of spreadable butter may change after freezing. It is recommended to transfer spreadable butter to airtight and freezer-safe containers or wrap it tightly in plastic wrap before freezing to maintain its quality as much as possible.

