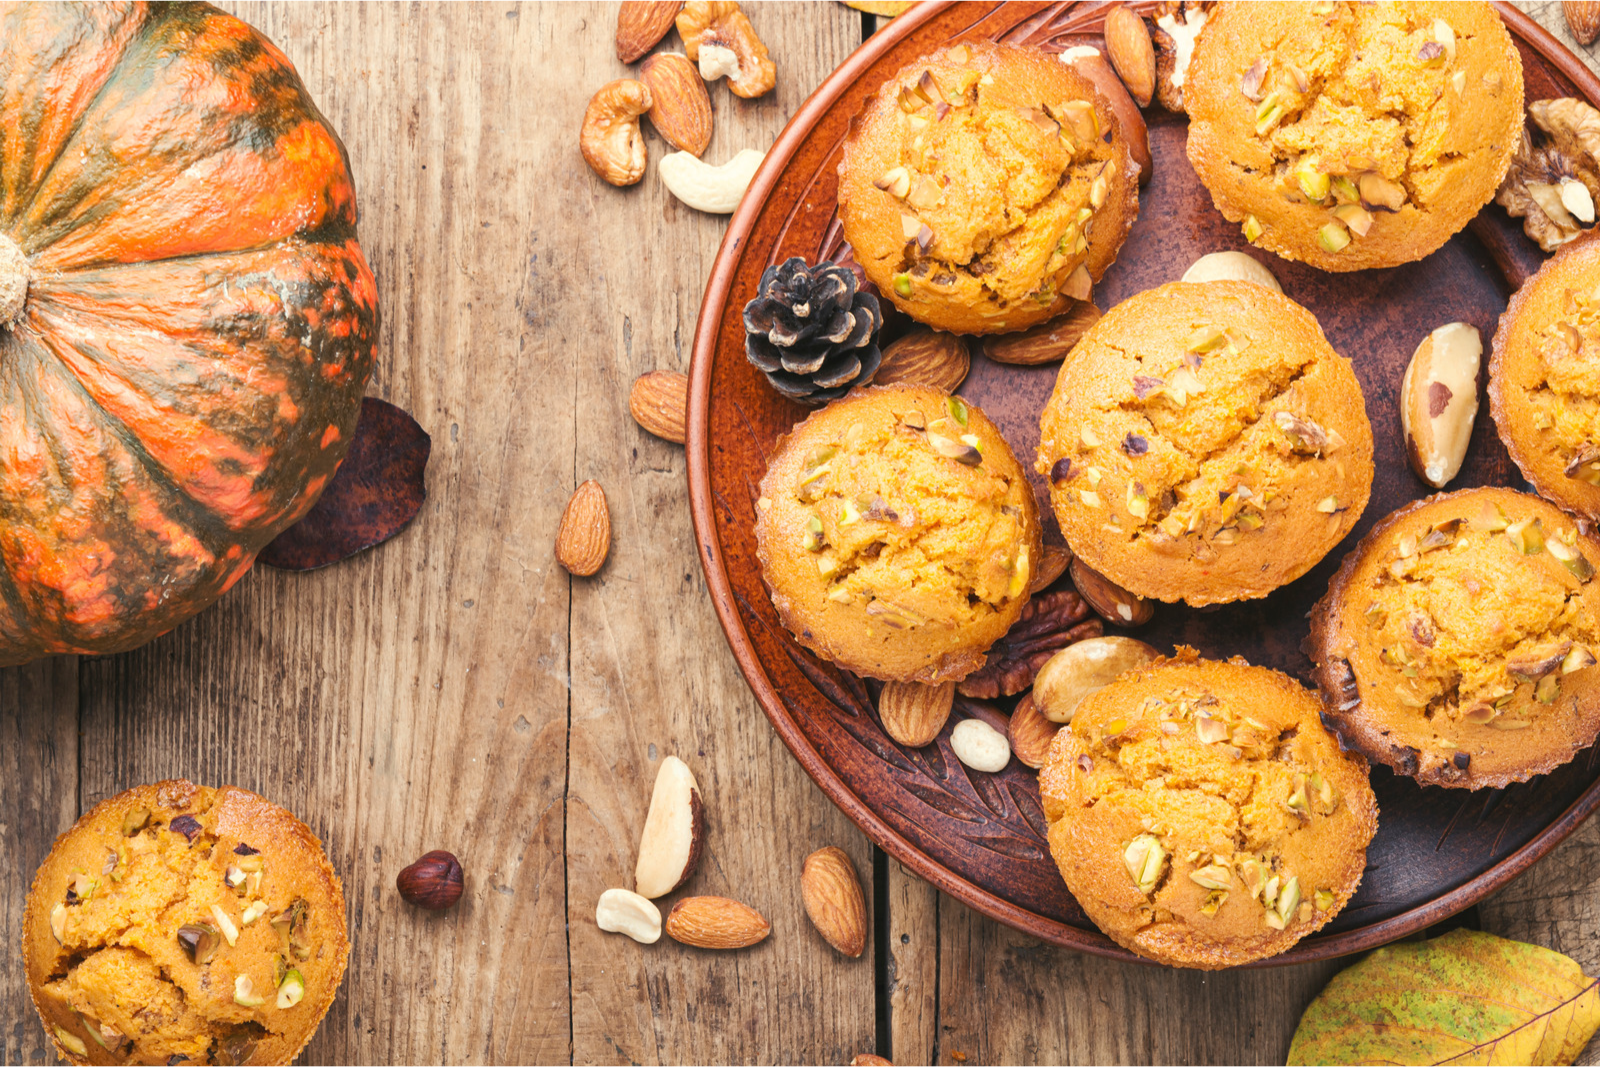
Pumpkin muffins, with their moist and tender crumb, are a delightful treat that perfectly captures the essence of fall. These spiced gems, infused with the comforting flavors of pumpkin, cinnamon, and nutmeg, evoke feelings of warmth and coziness with each delectable bite. Whether enjoyed as a quick breakfast on-the-go or as a delightful accompaniment to a cup of hot coffee or tea, pumpkin muffins have become a beloved seasonal indulgence for many. However, baking a batch of muffins may result in more than can be consumed at once, leading to the question of how best to preserve their deliciousness. Freezing pumpkin muffins emerges as a practical solution to extend their enjoyment, allowing you to relish the taste of autumn in every moist and flavorful muffin, even when the season has passed. In this guide, we will explore the best techniques for freezing pumpkin muffins, ensuring that their spiced aroma, moist texture, and delightful taste remain intact, ready to be savored whenever you crave a dose of fall-inspired goodness.
Here are the simple steps to freeze pumpkin muffins:
Step 1: Let the Muffins Cool Completely
Let the freshly baked pumpkin muffins cool completely before proceeding with the freezing process. This step is essential to ensure the quality of the muffins remains intact during storage.
When baked goods, like pumpkin muffins, come out of the oven, their internal temperature is considerably higher than the surrounding air. Placing them directly into the freezer while they are still warm creates a temperature difference between the muffins and the freezer environment. This temperature difference can lead to the formation of condensation on the surface of the muffins.
Condensation occurs when warm air meets a colder surface, and in this case, it would form on the muffins. The moisture from the condensation can be absorbed into the muffins, affecting their texture and taste negatively when they thaw. It can make the muffins soggy or lead to a loss of their original flavor and freshness.
By allowing the muffins to cool completely at room temperature, you give them time to naturally release any excess heat and moisture. This reduces the risk of condensation forming during the freezing process. Once the muffins have cooled down entirely, they are ready to be packaged and placed in the freezer without any concerns about compromising their quality.
Letting the pumpkin muffins cool completely before freezing is a crucial step to prevent condensation, maintain their texture, and ensure they retain their original delicious flavor when you decide to enjoy them later. This simple precautionary measure will help preserve the quality of your homemade pumpkin muffins, allowing you to savor the taste of autumn even after the baking is done.
Step 2: Prepare the Muffins for Freezing
This will guide you on how to prepare the pumpkin muffins for freezing, giving you options depending on whether you want to freeze the whole batch or individual muffins.
Freezing the entire batch
- If you decide to freeze the entire batch of pumpkin muffins, it is essential to arrange them in a single layer on a baking sheet. Placing the muffins in a single layer ensures that they freeze quickly and evenly. This prevents them from sticking together during the freezing process, making it easier to take out individual muffins later without having to thaw the entire batch.
- To do this, line a baking sheet with parchment paper or a silicone baking mat. Place the pumpkin muffins side by side in a single layer on the prepared baking sheet, making sure they are not touching each other. Once the baking sheet is filled, you can stack another layer of muffins on top, separated by parchment paper or a silicone baking mat, and continue until all the muffins are arranged.
Freezing individually
- If you prefer to freeze the pumpkin muffins individually, it’s best to wrap each muffin separately to maintain their individual shape and prevent them from sticking together.
- To do this, you can use plastic wrap or parchment paper. Take each pumpkin muffin and wrap it tightly with plastic wrap or parchment paper, making sure there are no exposed areas. Wrapping them individually allows you to take out only the number of muffins you need without thawing the entire batch, which is particularly convenient for single servings or smaller portions.
By following these preparation methods, you set the stage for successful freezing. Whether you freeze the entire batch or individual muffins, arranging them properly on a baking sheet or wrapping them individually helps preserve their shape and prevents them from sticking together. This ensures that when you want to enjoy your pumpkin muffins later, they will be ready to be taken out from the freezer and thawed or reheated without any hassle.
Step 3: Wrap the Muffins Securely
Emphasizes the importance of securely wrapping the pumpkin muffins before placing them in a resealable freezer bag. This step serves two crucial purposes: protecting the muffins from freezer burn and preserving their moisture during storage.
Freezer burn occurs when food is exposed to air inside the freezer for an extended period. It causes the moisture in the food to evaporate, leaving it dehydrated and often resulting in changes to the texture and taste. To prevent this from happening to your pumpkin muffins, it’s essential to provide them with an extra layer of protection.
Individually wrapping each pumpkin muffin with plastic wrap or parchment paper is the first line of defense against freezer burn. This wrapping creates a barrier that helps prevent air from coming into direct contact with the muffins, reducing the risk of freezer burn significantly.
Placing the individually wrapped muffins inside a resealable freezer bag. Freezer bags are specifically designed to keep air out and maintain a consistent environment within, helping to prevent freezer burn and preserve the quality of the muffins. Be sure to use high-quality freezer bags that are durable and have a reliable seal.
Before sealing the bag, it’s essential to squeeze out as much excess air as possible. Air contains moisture, and by removing it from the bag, you minimize the chances of ice crystals forming on the muffins’ surface, which can lead to freezer burn. Pressing the bag gently to release the air and then sealing it tightly ensures that the muffins are well-protected inside the bag.
By taking these steps to wrap the muffins securely and place them in a resealable freezer bag, you are safeguarding the muffins from potential freezer burn and maintaining their moisture levels. This extra care and attention to packaging will help preserve the delightful taste and texture of your pumpkin muffins, allowing you to enjoy them to the fullest when you decide to thaw and indulge in their autumnal goodness.
Step 4: Label the Freezer Bag
Importance of labeling the freezer bag that contains the frozen pumpkin muffins with the current date. This seemingly simple step plays a crucial role in ensuring you can keep track of how long the muffins have been stored in the freezer.
Here’s why labeling the freezer bag with the date is essential:
- Tracking storage time: Pumpkin muffins, like any other food, have a limited shelf life when stored in the freezer. While they will remain safe to eat for an extended period, their quality and taste are best within a certain timeframe. By adding the date to the freezer bag, you create a reference point that allows you to determine how long the muffins have been in the freezer.
- Ensuring optimal quality: Over time, even properly frozen foods can experience changes in taste, texture, and overall quality. By knowing the date of freezing, you can make sure to consume the pumpkin muffins within the recommended storage duration, during which they retain their original deliciousness and freshness.
- Preventing food waste: Having the date on the freezer bag also helps you avoid unnecessary food waste. If you forget about the muffins’ freezing date and leave them in the freezer for an extended period, they might exceed their optimal storage time, and you might end up throwing away muffins that have lost their best quality.
- Prioritizing consumption: When you label the freezer bag, it becomes easier to prioritize consuming the older batches of frozen pumpkin muffins first. This way, you can ensure that nothing goes to waste, and you enjoy the muffins at their peak quality.
By following this straightforward step of labeling the freezer bag with the date, you can stay organized and make the most of your frozen pumpkin muffins. It’s a small effort that can lead to big rewards in terms of enjoying your homemade treats at their best and reducing unnecessary food waste.
Step 5: Place in the Freezer
Advises you on how to place the wrapped and labeled pumpkin muffins in the freezer to ensure proper freezing and to maintain their shape and appearance.
Here’s why this step is essential:
- Even freezing: Placing the wrapped muffins in a single layer on a flat surface in the freezer ensures that they freeze evenly. When muffins are frozen uniformly, it helps maintain their texture and taste once they are thawed. Uneven freezing can lead to variations in texture and may affect the overall quality of the muffins.
- Prevention of deformation: If the muffins are stacked on top of each other before they are frozen solid, there is a risk of them becoming misshapen or deformed. As the muffins freeze and expand, the weight of the ones on top can cause indentation or flatten the muffins beneath them. Keeping the muffins flat and separate during the initial freezing stage prevents this issue.
- Easy access: Placing the muffins in a single layer also makes it easier to access them later. When you want to enjoy a muffin, you can take out just the desired number without having to thaw an entire stack.
After the muffins are frozen solid, you can stack them in a resealable freezer bag if you need to save space. Remember to place a piece of parchment paper or plastic wrap between each layer of muffins to prevent them from sticking together.
By adhering to this step and ensuring that the muffins freeze flat and solid before stacking, you maintain the integrity of their shape and texture. When you’re ready to enjoy them, you can retrieve the muffins from the freezer without any worries about deformations or changes in quality. Your carefully prepared pumpkin muffins will be just as delightful as when you first baked them!
How long can pumpkin muffins last in the freezer?
Pumpkin muffins can last in the freezer for about 2 to 3 months without significant loss in quality. Properly stored in airtight containers or freezer bags, they remain safe to eat beyond this timeframe, but their taste and texture may start to decline. For the best experience, consume them within the recommended storage period.
Step 6: Thaw the Frozen Muffins
It provides instructions on how to properly thaw the frozen pumpkin muffins before enjoying them. Thawing is a crucial step to ensure that the muffins regain their original texture and taste.
Here’s why this step is important:
- Preservation of quality: Thawing the muffins at room temperature allows them to defrost gradually and evenly. This slow thawing process helps preserve the muffins’ moisture and prevents any potential textural changes that could occur if they were rapidly thawed.
- Even distribution of heat: Thawing the muffins at room temperature ensures that the heat is distributed evenly throughout the muffin, allowing it to regain its soft and moist texture. This gentle thawing process helps avoid any uneven heating that might occur if the muffins were thawed in the microwave or using hot water.
Instructions for thawing the frozen pumpkin muffins:
- Remove the desired number of muffins: Decide how many muffins you want to thaw and take them out of the freezer. Remember to seal the remaining muffins securely in the freezer to maintain their freshness.
- Thaw at room temperature: Place the frozen muffins on a plate or a wire rack at room temperature. Let them sit and thaw for a few hours or overnight, depending on their size and thickness. This slow thawing process allows the muffins to regain their moisture and softness.
- Reheating (optional): If you prefer your muffins warm and with that fresh-baked taste, you can reheat them in the oven at a low temperature. Preheat the oven to around 300°F (150°C), and warm the muffins for a few minutes until they are heated through. Be cautious not to overheat them, as this can lead to drying out.
By following these thawing instructions, you ensure that your frozen pumpkin muffins retain their deliciousness and are as enjoyable as when they were freshly baked. Whether you have a few muffins or a whole batch to thaw, the slow and gentle process of thawing at room temperature will help you savor the flavors of autumn all over again!
Other related questions
Can you refreeze pumpkin muffins?
Yes, it is generally safe to refreeze pumpkin muffins if they have been thawed properly in the refrigerator and have not been left at room temperature for an extended period. However, the quality may deteriorate with each freeze-thaw cycle, leading to potential changes in texture and taste. It is recommended to consume the muffins after the first thaw to ensure the best taste and freshness.
How do I know if the pumpkin muffins have gone bad after being frozen?
To determine if frozen pumpkin muffins have gone bad, look for signs of spoilage such as off smells, mold growth, or an unusual appearance like discoloration or freezer burn. If the muffins exhibit any of these signs, they should be discarded. Additionally, a change in texture, taste, or overall quality may indicate that the muffins have lost their freshness and are no longer suitable for consumption.
Can I freeze pumpkin cream cheese muffins or muffins with other fillings?
Yes, you can freeze pumpkin cream cheese muffins or muffins with other fillings. Before freezing, ensure the muffins have cooled completely to room temperature. Wrap each muffin individually with plastic wrap or aluminum foil, place them in an airtight container or freezer bag, and store in the freezer for future consumption. Thaw the frozen muffins at room temperature or gently reheat them in the oven to enjoy their delicious flavors.
Can you freeze pumpkin muffins with streusel topping?
Yes, you can freeze pumpkin muffins with streusel topping. However, it is best to freeze them without the streusel topping to prevent it from becoming soggy during freezing and thawing. After baking the muffins, cool them completely, and then wrap each muffin individually in plastic wrap or aluminum foil before placing them in an airtight container or freezer bag for freezing. When ready to eat, you can add freshly prepared streusel topping to the thawed muffins for the best texture and taste.
Can I freeze pumpkin muffin batter for later use?
While it is possible to freeze pumpkin muffin batter for later use, it is not recommended for the best results. Freezing batter can negatively affect its leavening agents, leading to uneven rising and texture issues. It is preferable to freeze baked pumpkin muffins instead, as they can be stored for longer periods without compromising their quality.

